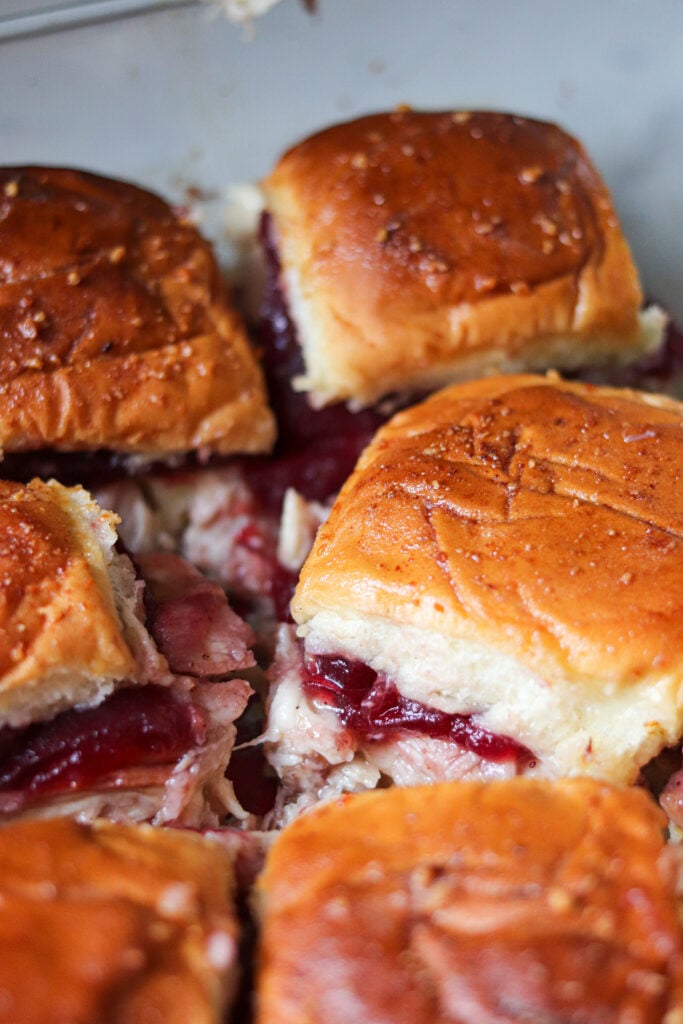
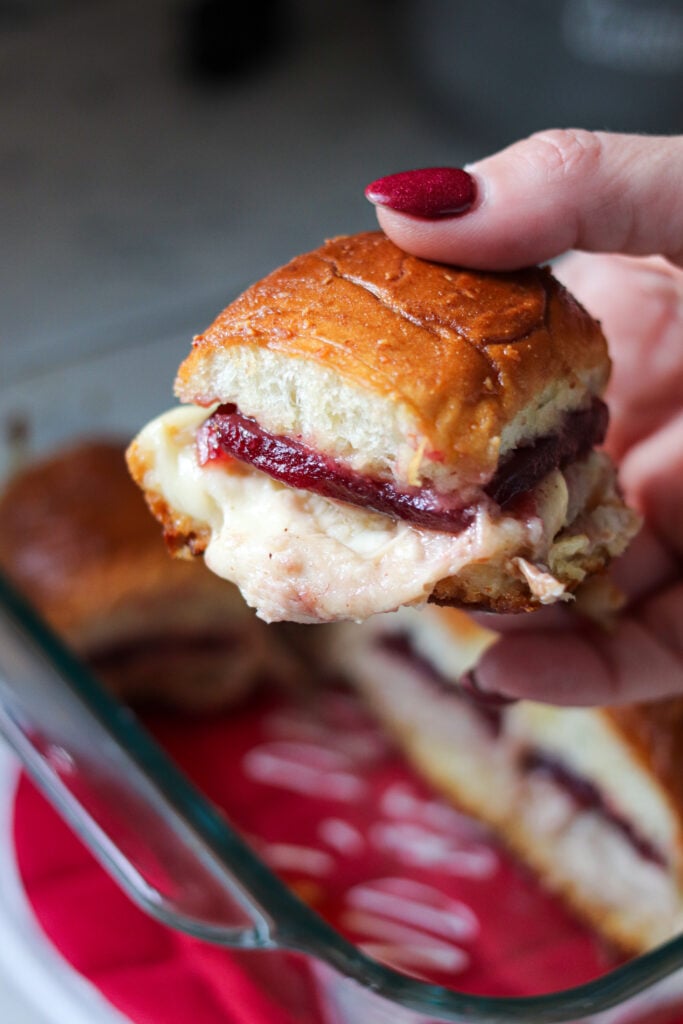
Turkey Cranberry Sliders are the ULTIMATE Thanksgiving leftovers meal! Packed with turkey, cranberry sauce and cheese, these sliders are so good!

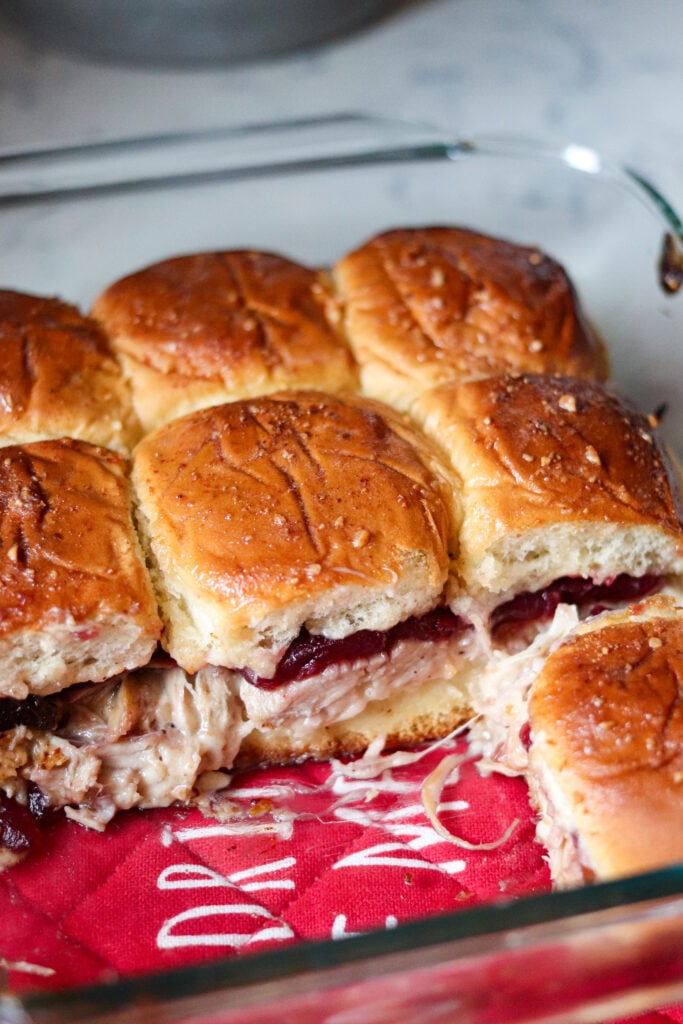
Making these sliders takes only a few minutes, then they are baked to crispy, cheesy, warm perfection! The turkey, cranberry, cheese combo cannot be beat! I've already shared my most popular Turkey Cranberry Grilled Cheese as well these Turkey Cranberry Quesadillas, and now these Turkey Cranberry Sliders are next on the list!
Serve these next to a heap of Loaded Mashed Potatoes or just eat them alone as a snack or lunch!
I like to use leftovers for this meal, but if you don't have any, try this easy Air Fryer Turkey Breast, and grab the remaining handful of ingredients at the store! This bakes up in a square or rectangle baking dish, so there is enough for a group of people.
How to make Turkey Cranberry Sliders:
**scroll down for full ingredients list and printable directions**
- Preheat the oven to 350 degrees F. Using a 8x8 or 8x10 baking dish, use butter to grease the bottom so the rolls don't stick.
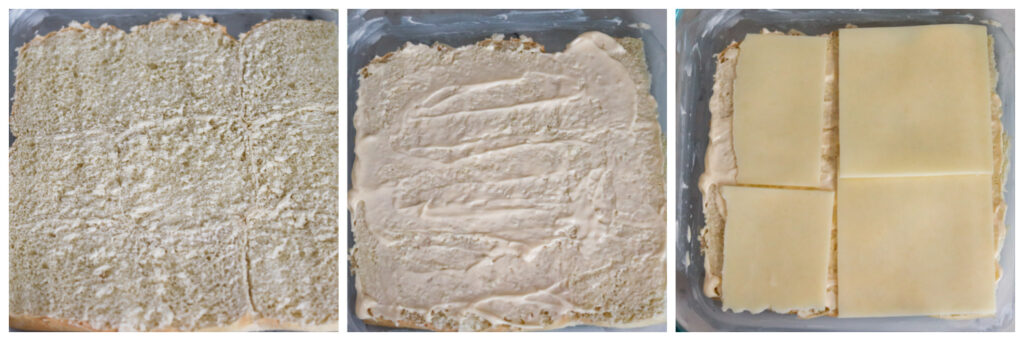
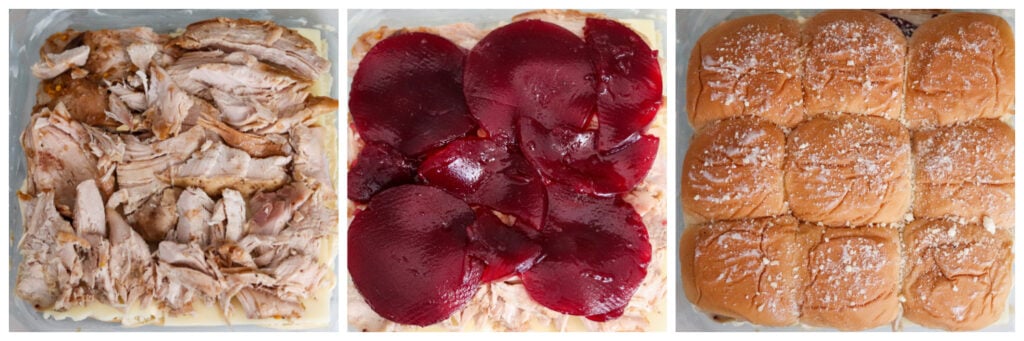
- Assemble the sliders: The bottom half of the buns, spread mayonnaise, add cheese slices, sliced turkey pieces, cranberry sauce, and the top of the buns. Rub some butter over the tops of the buns and then sprinkle parmesan cheese over the top.
- Cover the sliders with foil and then place into the oven and bake.
- The last 5 minutes of baking, remove the foil and bake.

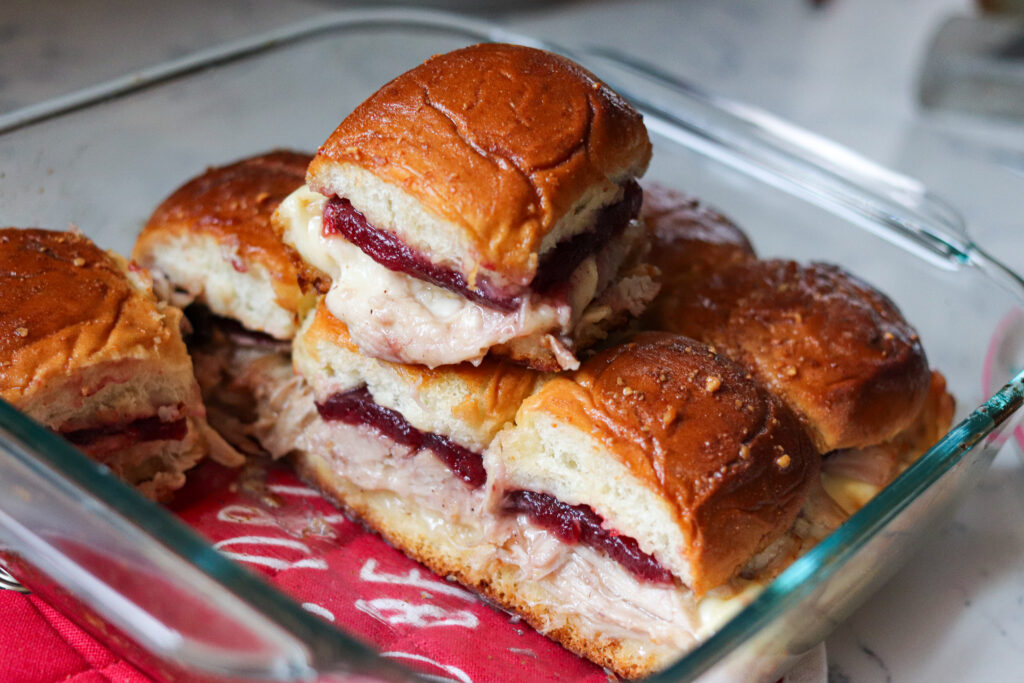
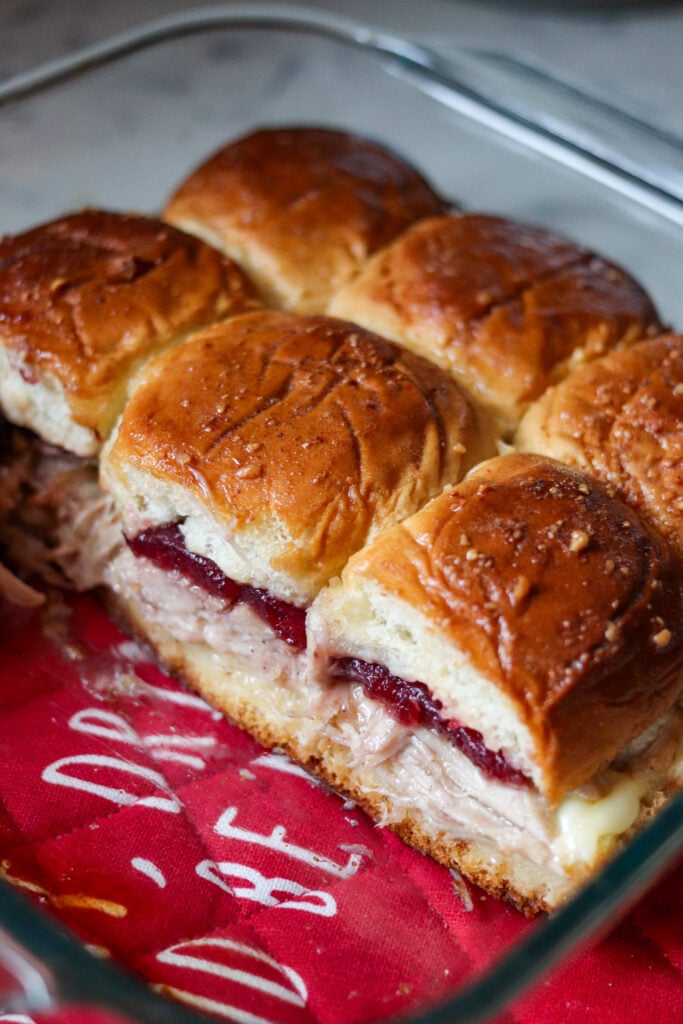
- Use a serrated knife and carefully cut the sliders. Serve hot!
Turkey Cranberry Sliders are best served right away. The longer they sit out, the soggier they will get. Keeping the crispy bun really adds to the sandwich.
PRO TIP: Serve these with a side of mashed potatoes and gravy, then dip the sliders into the mixture - SO GOOD!!!!
There are many sides to serve with this delicious sandwich too, try these:
- Holiday Sausage Cornbread Stuffing
- Instant Pot Loaded Mashed Potatoes (slow cooker and stovetop directions)
- Oven Roasted Brussels Sprouts
If you like SLIDERS as much as I do, try these other delicious SLIDER recipes!
- Easy Italian Meatball Sliders
- Sloppy Joe Sliders
- Caprese Sliders
- Easy Baked Turkey Ham Sliders
- Peanut Butter & Jelly Sliders
- Easy BLT Sliders with Avocado Ranch
- Best Slider Recipes

Turkey Cranberry Sliders are the ULTIMATE Thanksgiving leftovers meal! Packed with turkey, cranberry sauce and cheese, these sliders are so good!
- 9 slider buns
- 2 TBS Mayonnaise
- 3 slices cheese (I like havarti or gouda)
- 2 cups sliced turkey meat
- 8-9 slices jellied cranberry sauce
- butter
- 1 TBS parmesan cheese
-
Preheat the oven to 350 degrees F. Using a 8x8 or 8x10 baking dish, use butter to grease the bottom so the rolls don't stick.
-
Assemble the sliders: Place the bottom half of the buns into the baking dish, then spread mayonnaise over the top, add cheese slices, sliced turkey pieces, cranberry sauce, and the top of the buns. Rub some butter over the tops of the buns and then sprinkle parmesan cheese over the top.
-
Cover the baking dish loosely with aluminum foil. Place into the oven and bake for 20 minutes. Remove the foil and bake 5 additional minutes. Carefully remove from the oven and set aside.
-
Using a serrated knife, cut the sliders into individual sandwiches and serve immediately!