The BEST Summer Potluck recipes are all here for you to enjoy! Summer food is the best, and there's tons of new recipes to try!

Now that summer is here, you know what that mean....BBQs and POTLUCKS! That's why I have put together a list of the BEST Summer Potluck recipes!
Personally, I love a good BBQ with friends or family and find it so fun hanging out at the pool or outside just chilling and socializing...oh, and EATING! My favorite part about eating at BBQs? The side dishes of course! There is always such a delicious variety and so many creative dishes. I love trying new things and bringing new recipes for my friends to try.
There is just something about the summertime when the living is easy and you have BBQs every weekend...I just love it! You have to try these (all of them) and let me know what you think!
Jalapeno Popper Cheese Bread - Domestic Superhero

Pesto Pasta Salad Domestic Superhero

Chopped Asian Salad - A Dash of Sanity

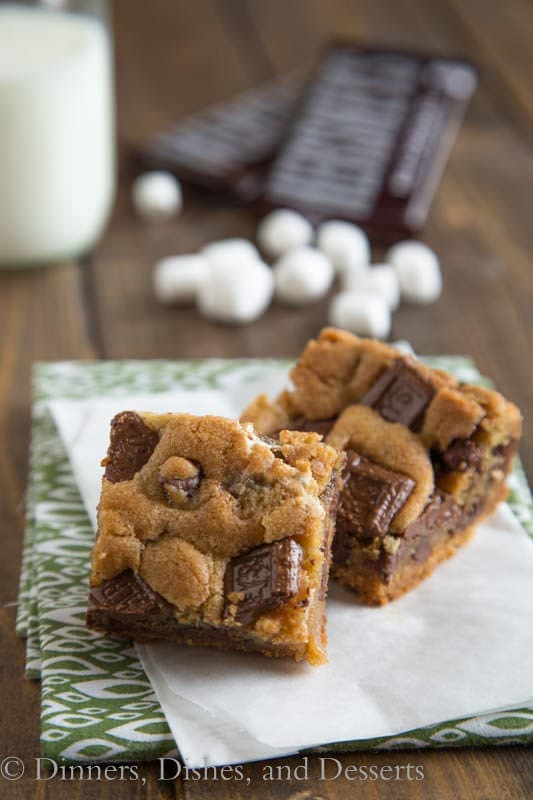
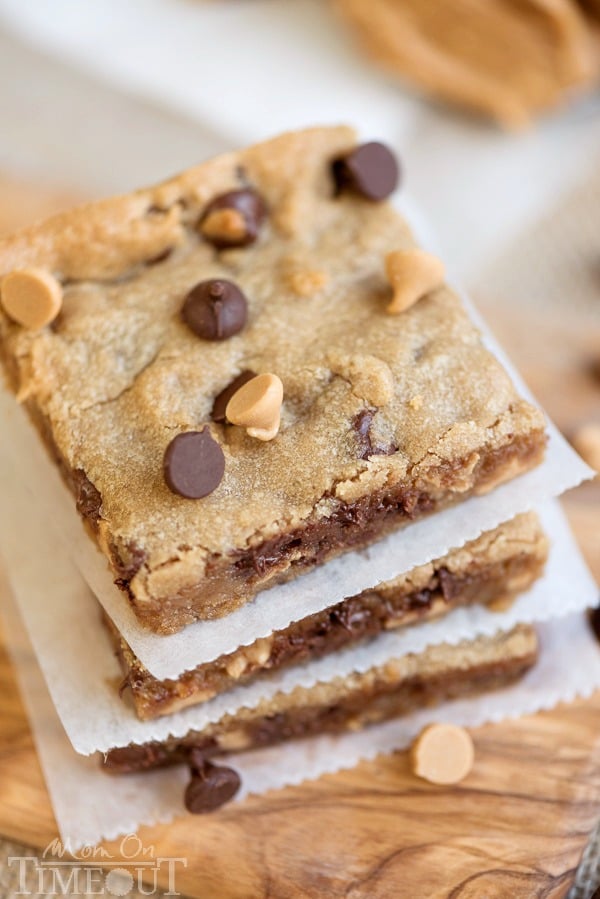
S'mores Cookie Bars - Dinners, Dishes, and Desserts
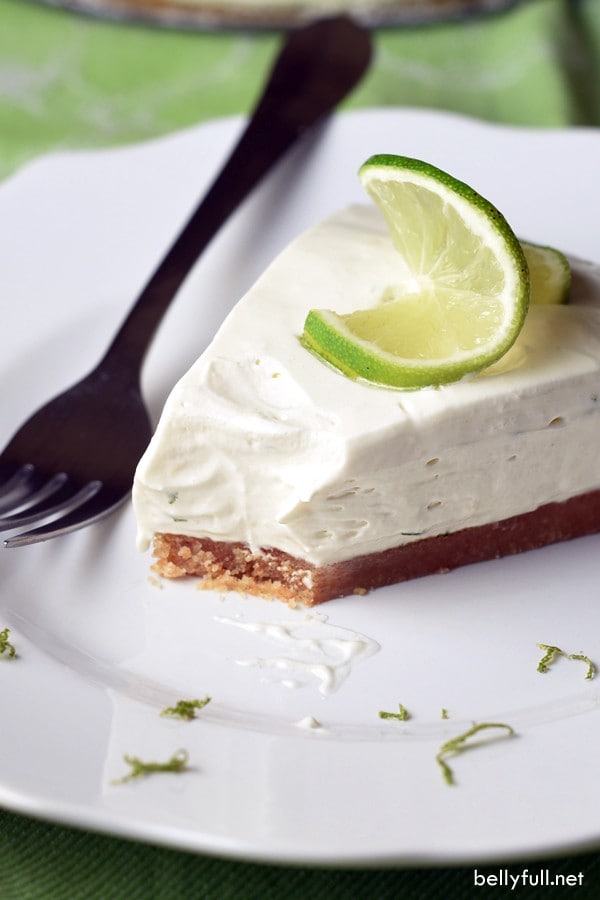
Creamy Delicatessen Fruit Salad - Belly Full

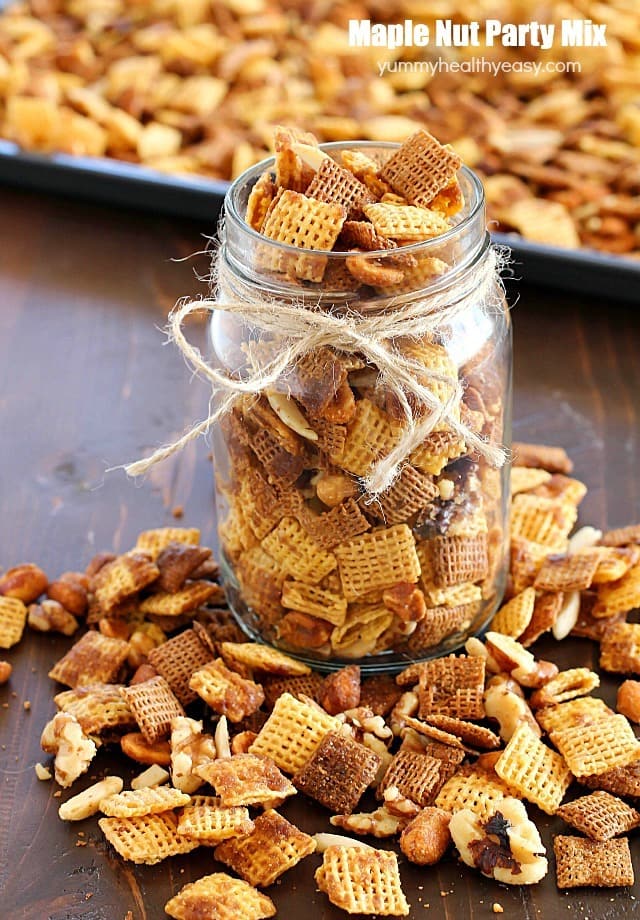
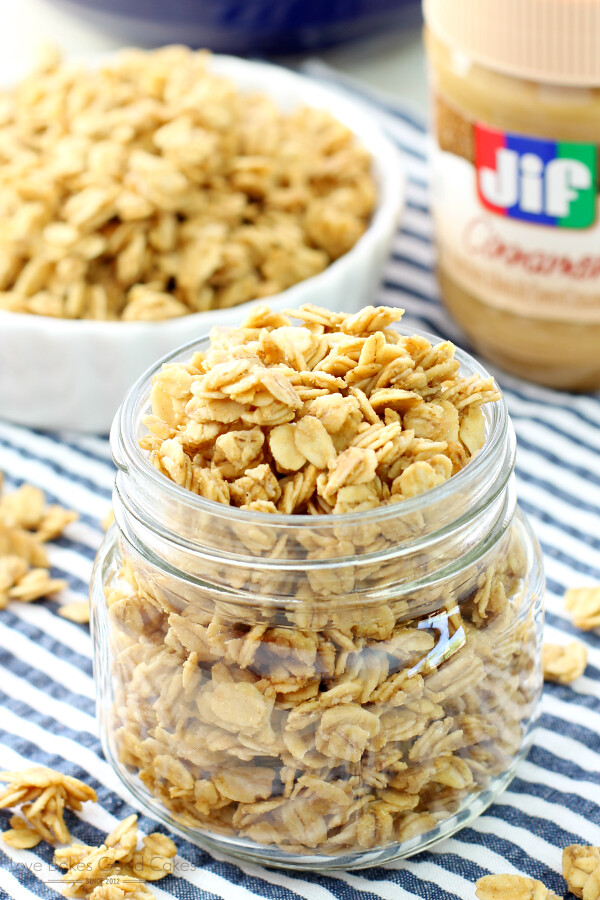
Maple Party Nut Mix - Yummy Healthy Easy
Classic Italian Pasta Salad - Wishes & Dishes

Pepperoni Bread - 365 Days of Baking

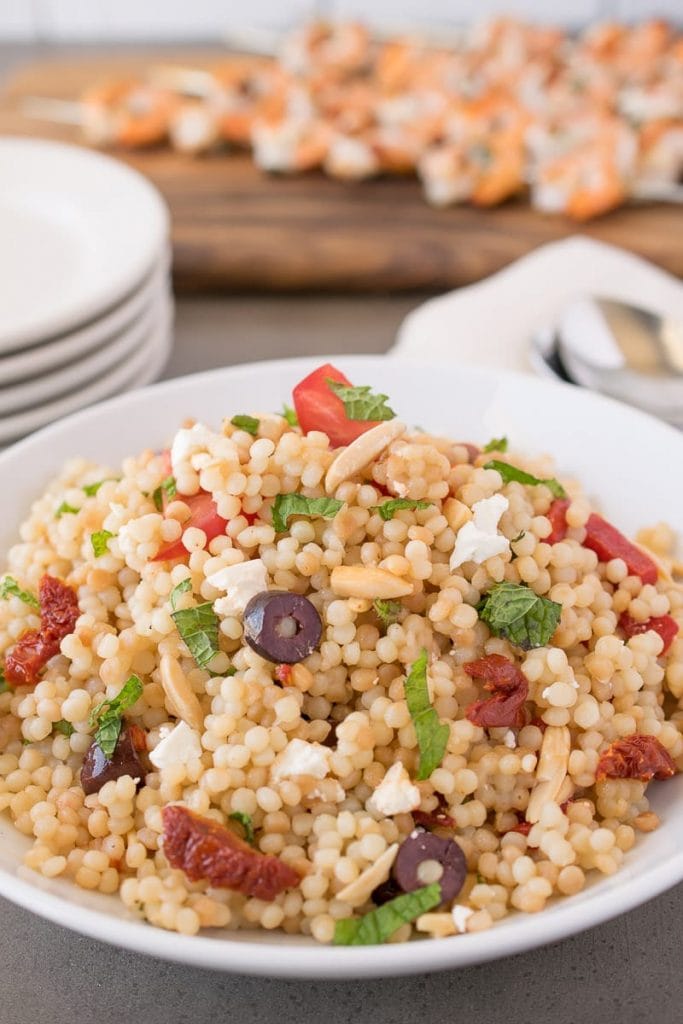
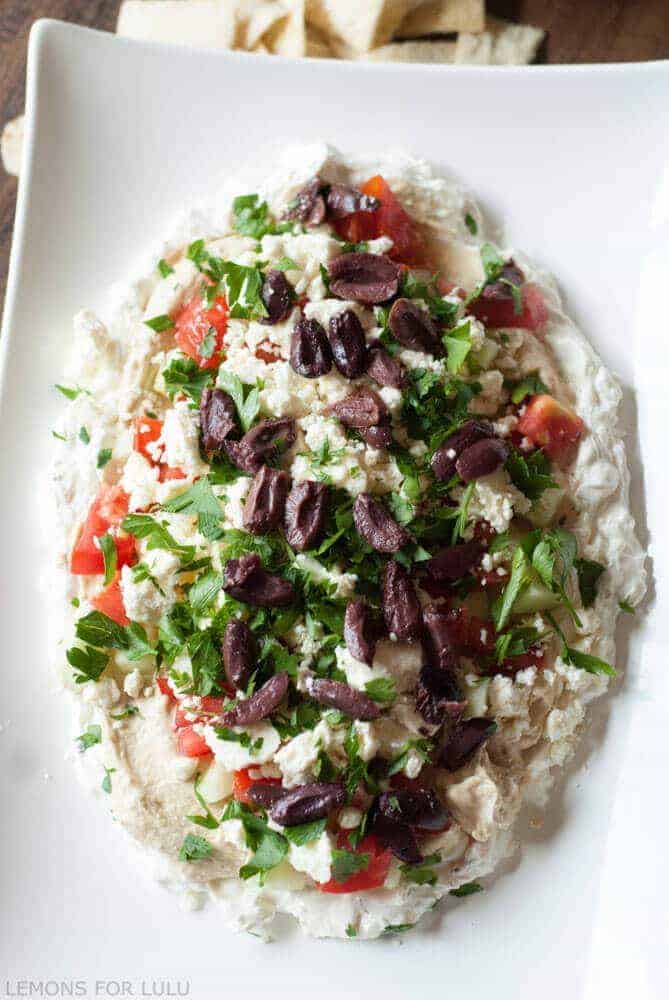
Mediterranean Couscous Salad - Culinary Ginger
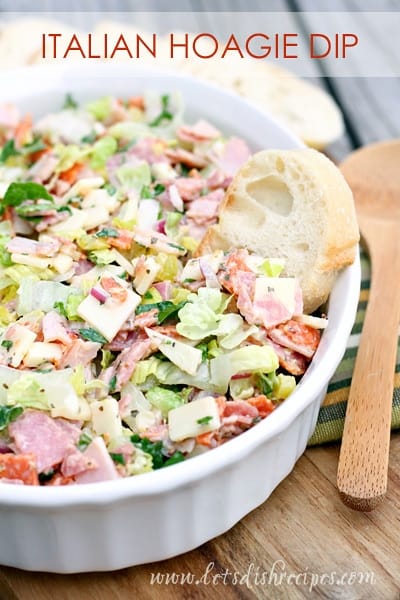
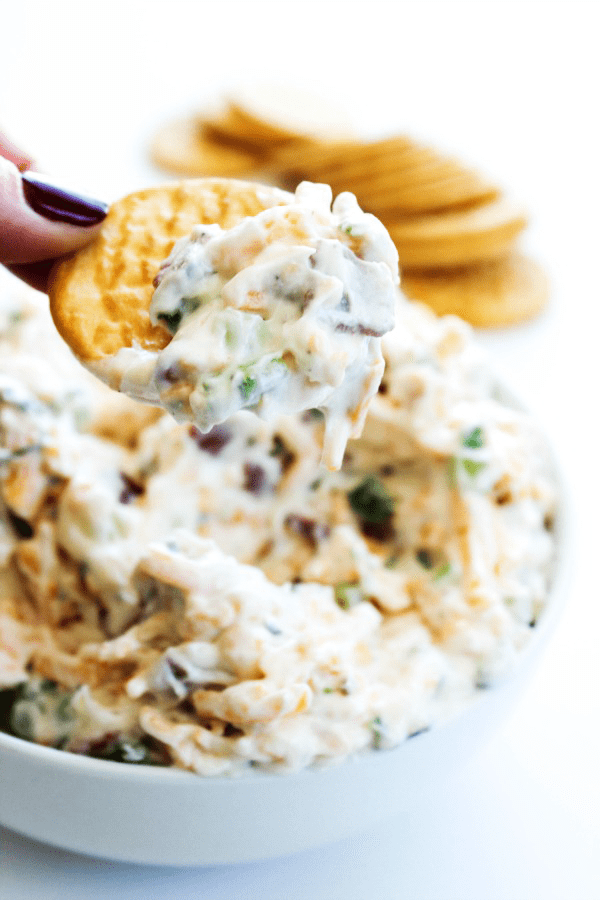
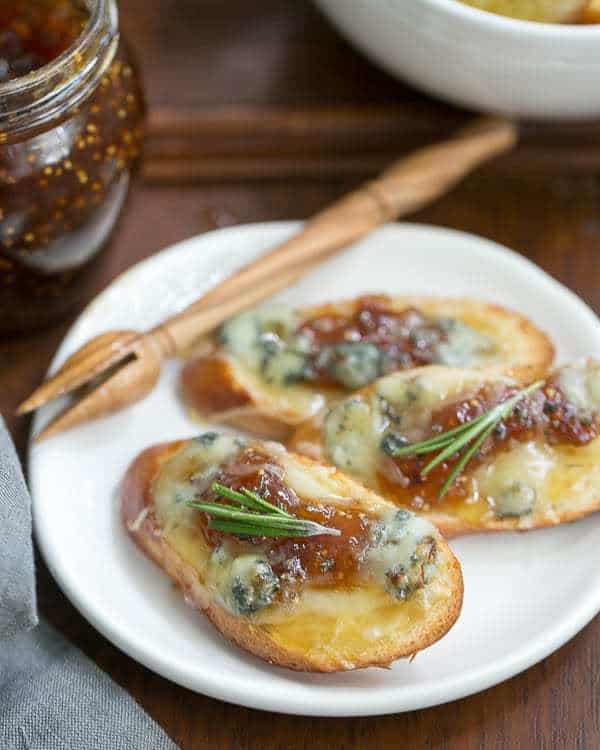
Italian Hoagie Dip - Let's Dish
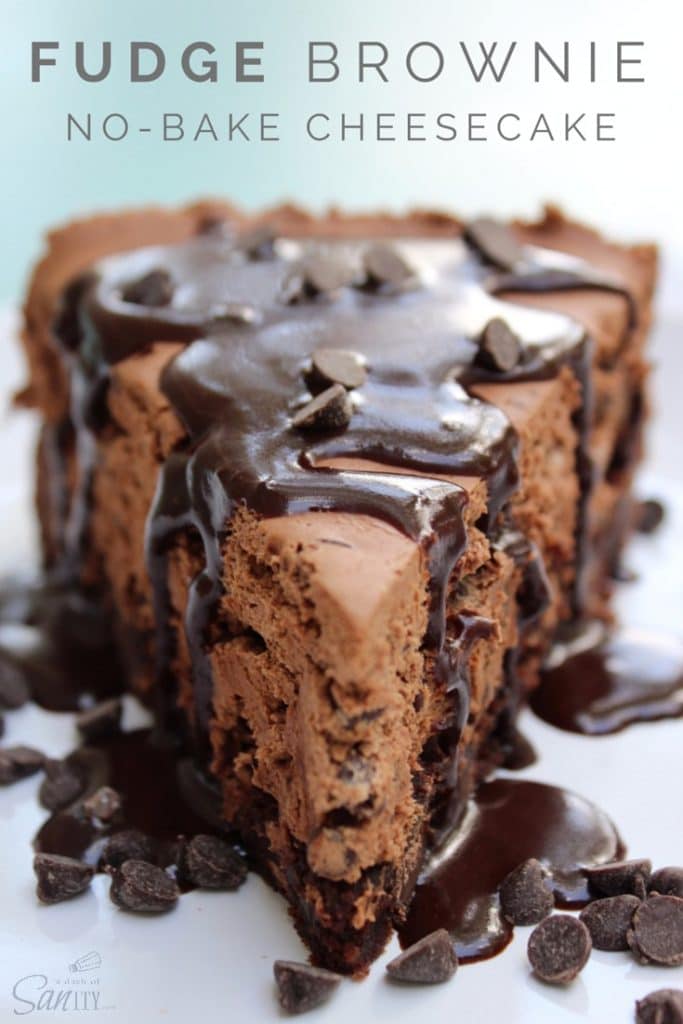
Cocoa Fudge Cake - That Skinny Chick Can Bake

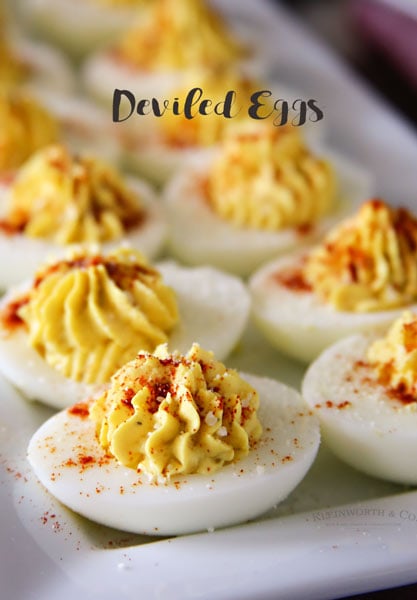
Traditional Deviled Eggs - Kleinworth & Co
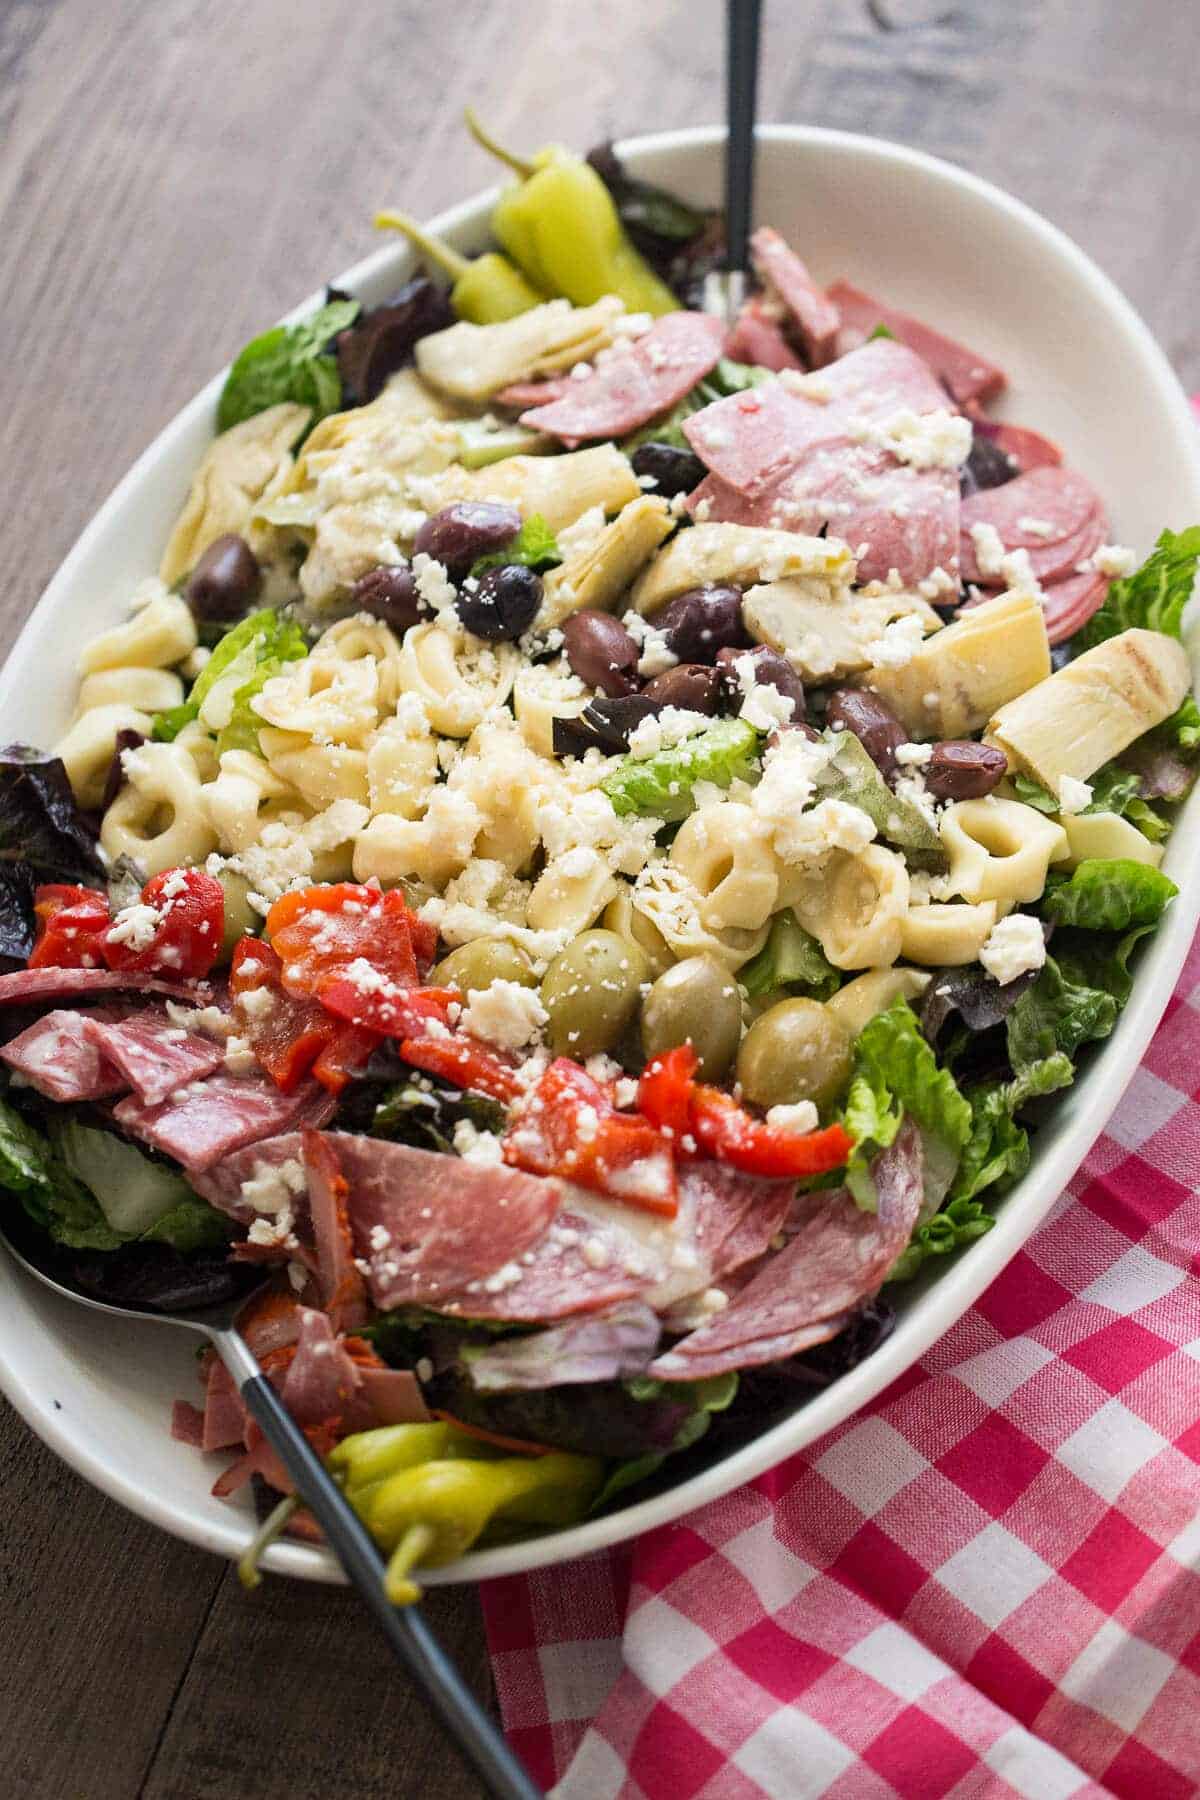
Italian Salad with Tortellini - Lemons for Lulu
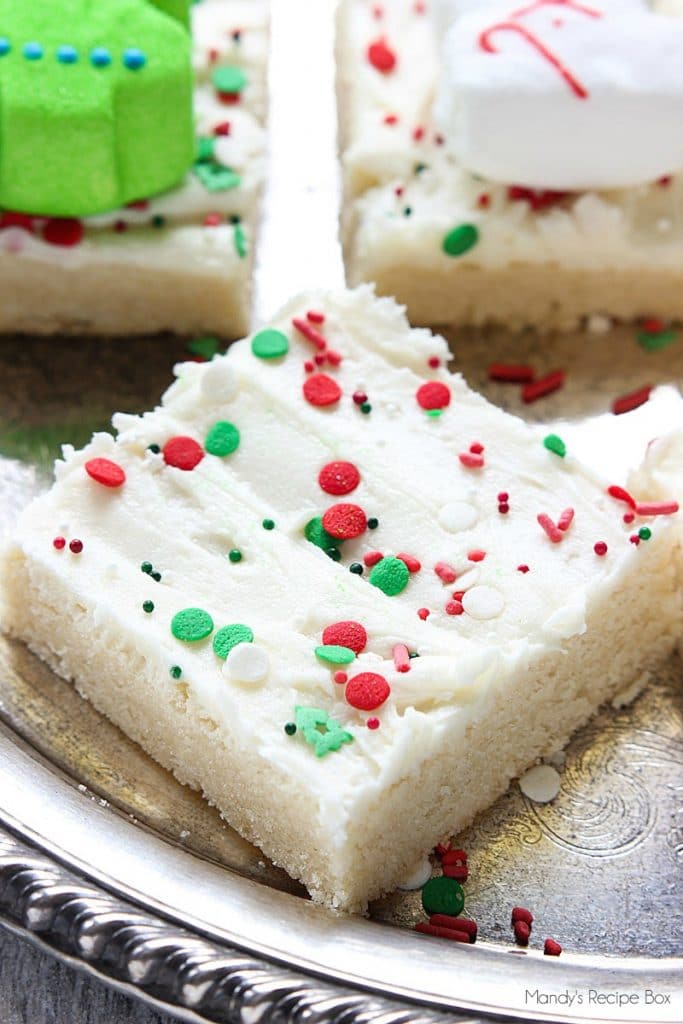
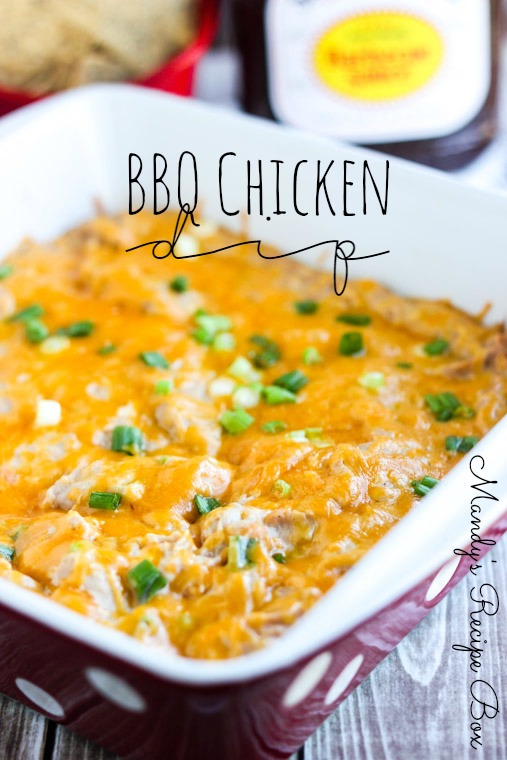
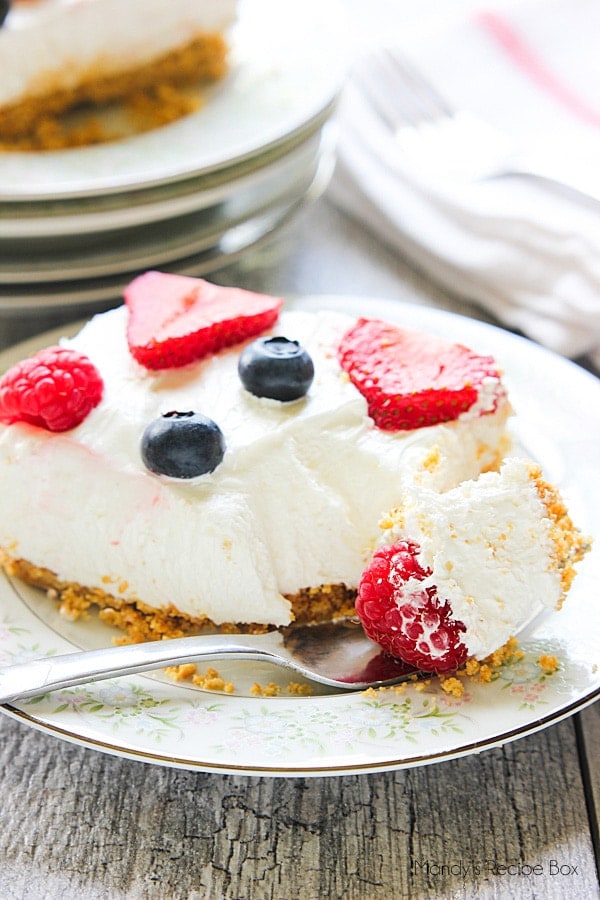
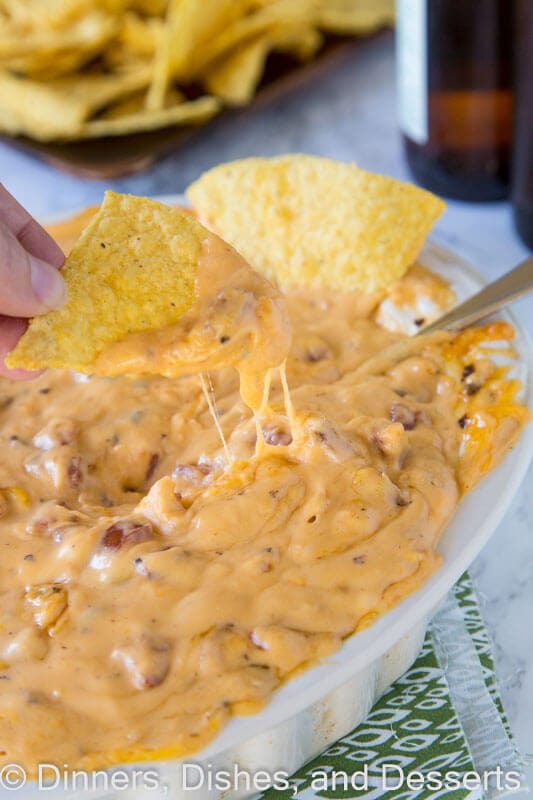
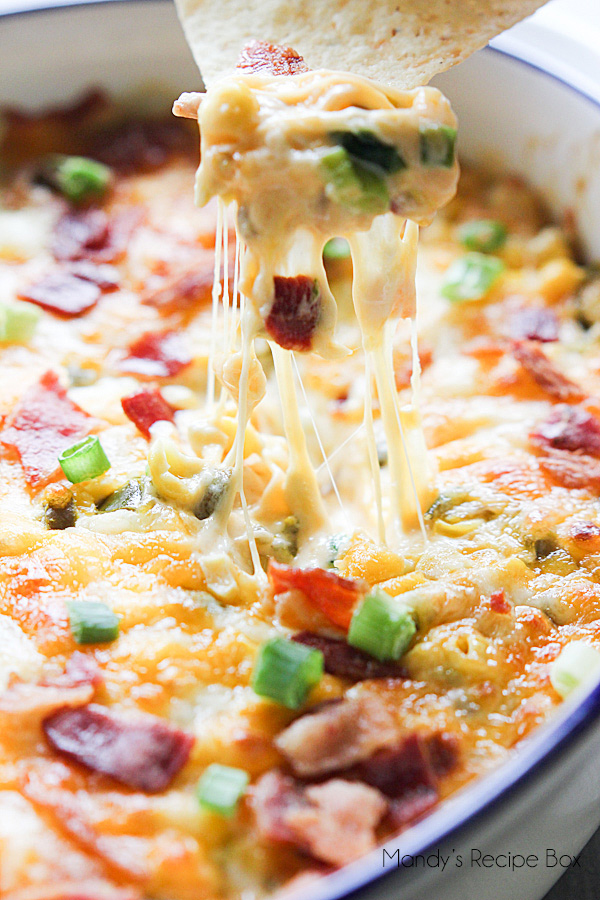
BBQ Chicken Dip - Mandy's Recipe Box
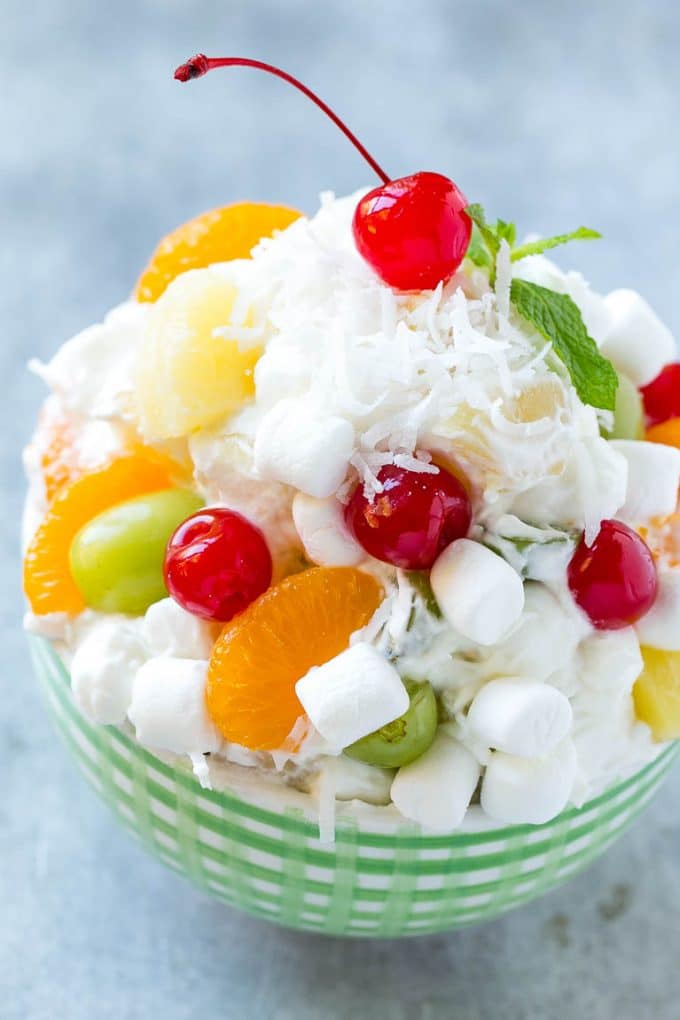
Ambrosia Salad - Dinner at the Zoo
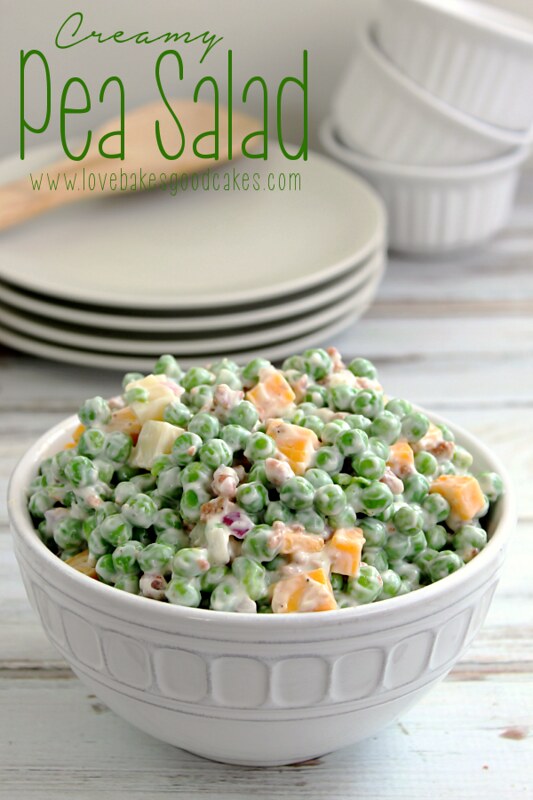
Creamy Pea Salad - Love Bakes Good Cakes
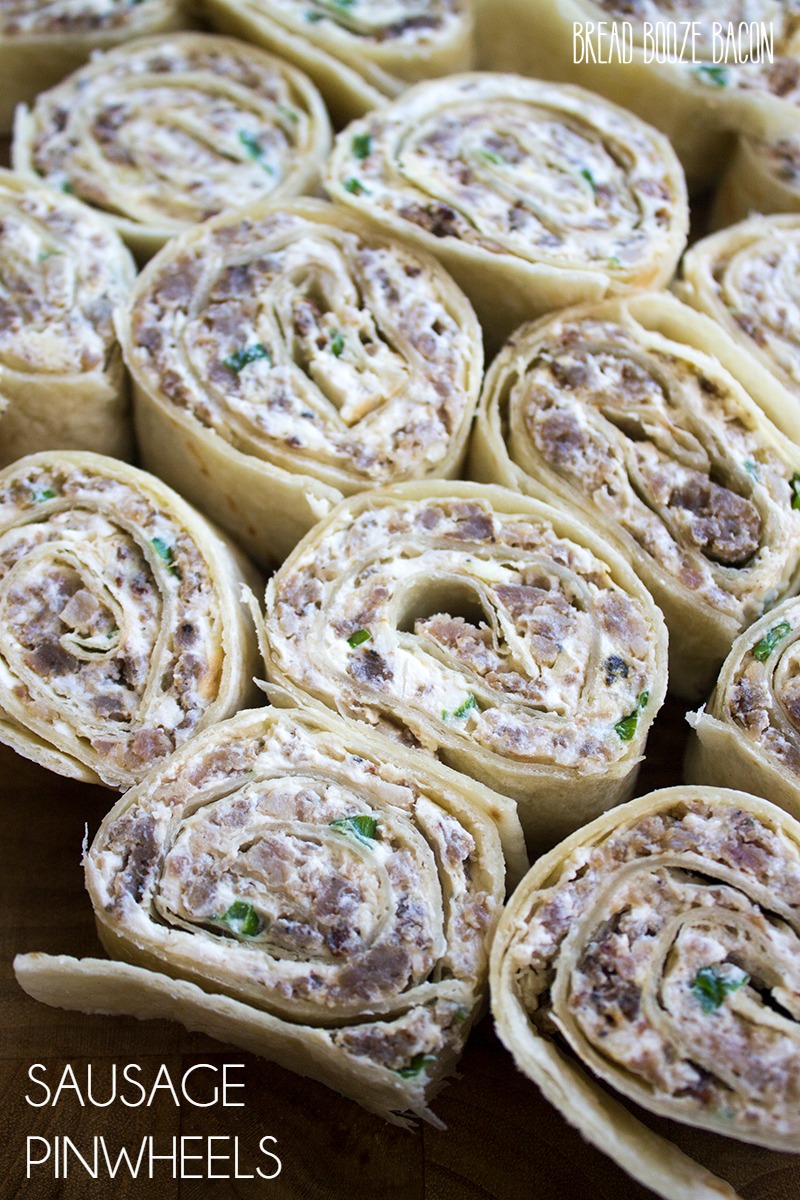
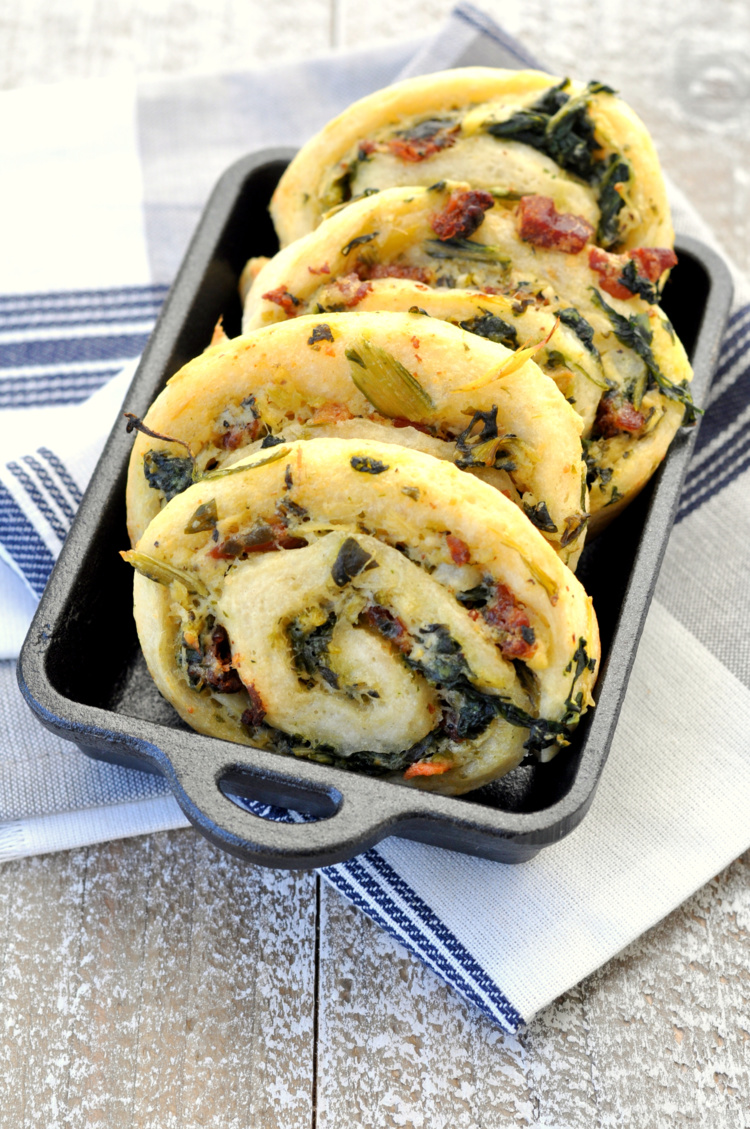
Sausage Pinwheels Recipe - Bread Booze Bacon

Need more ideas for summer recipes? Check these out!
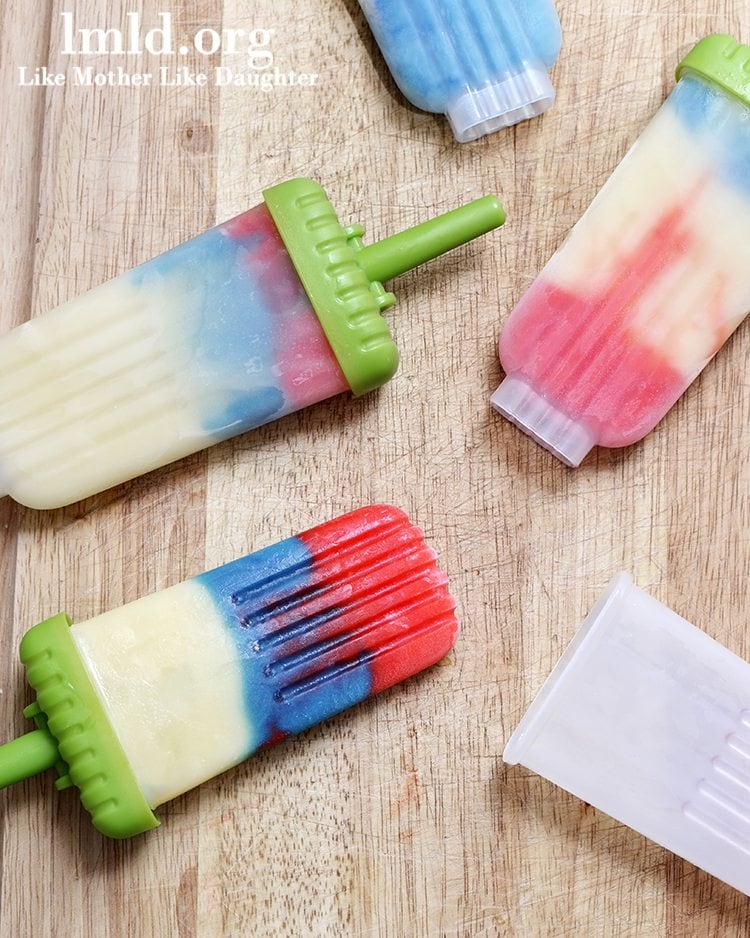
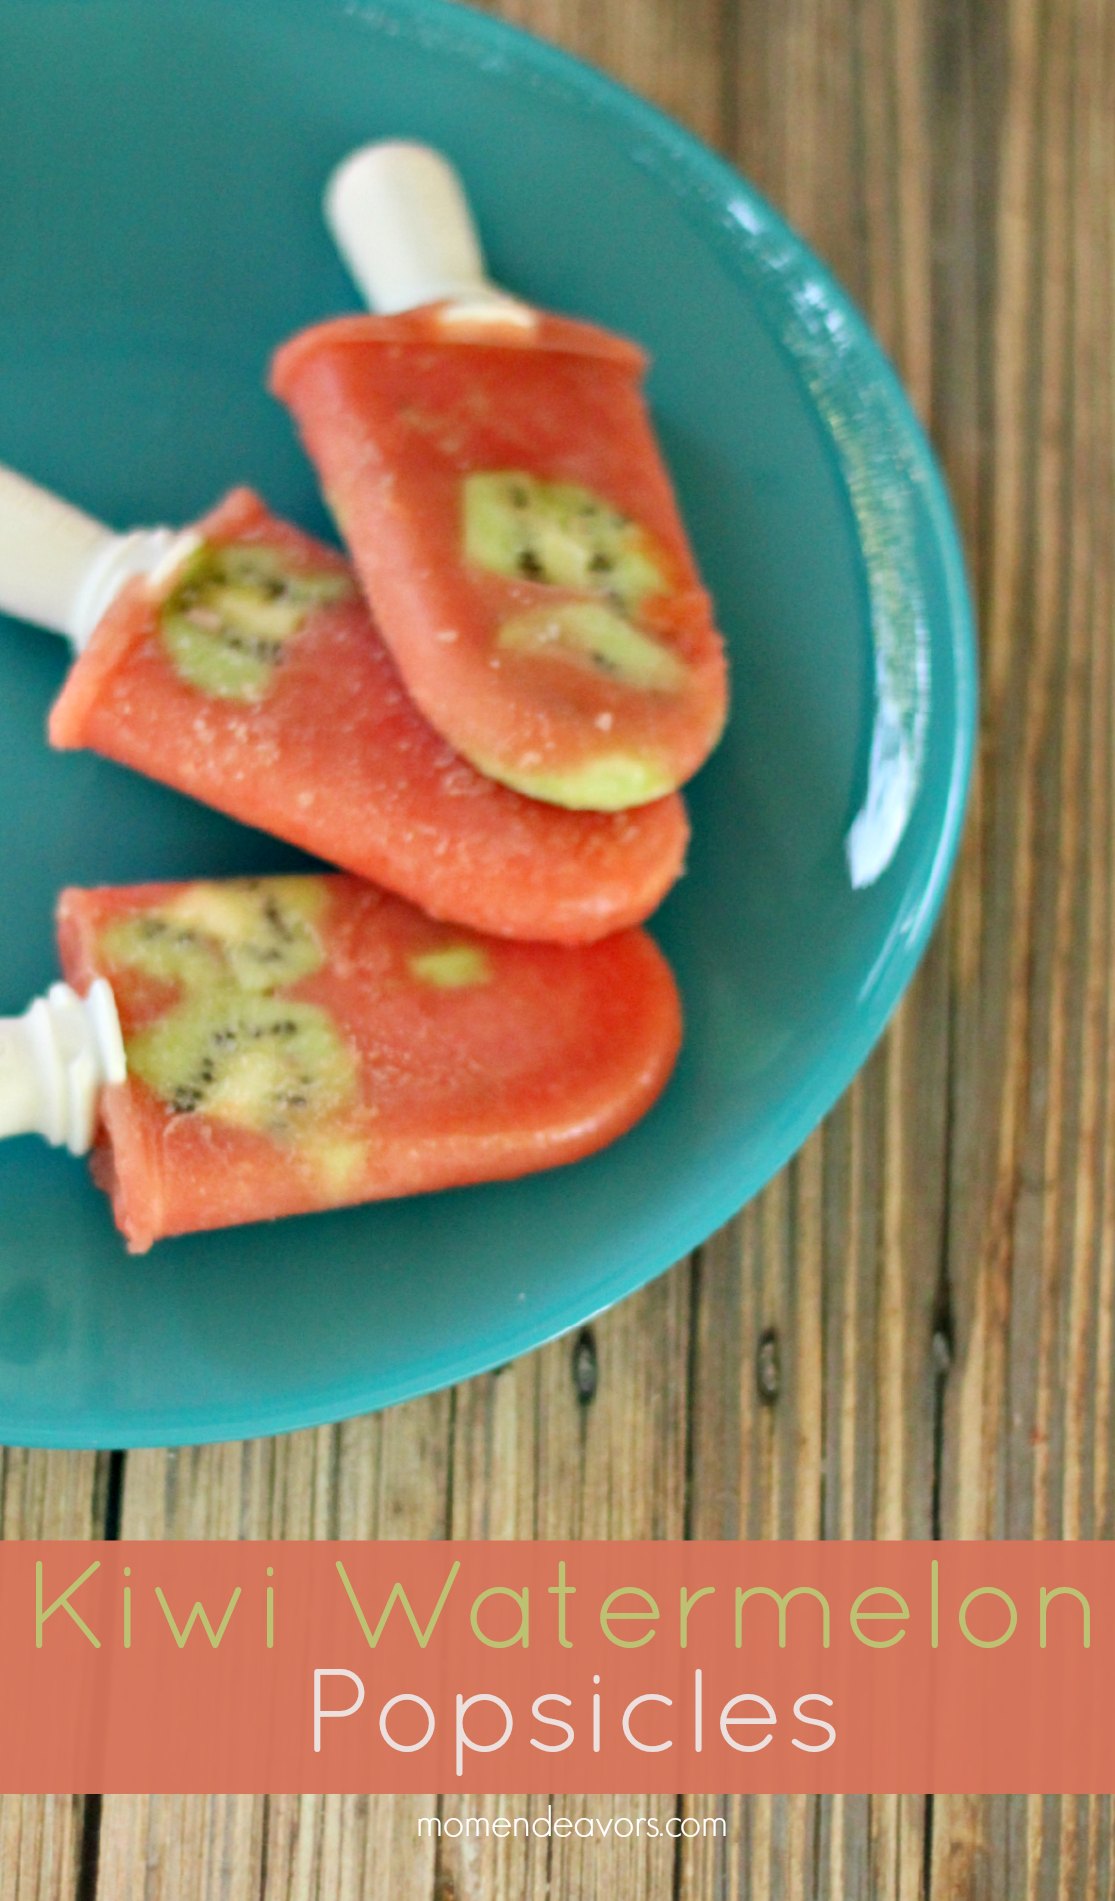
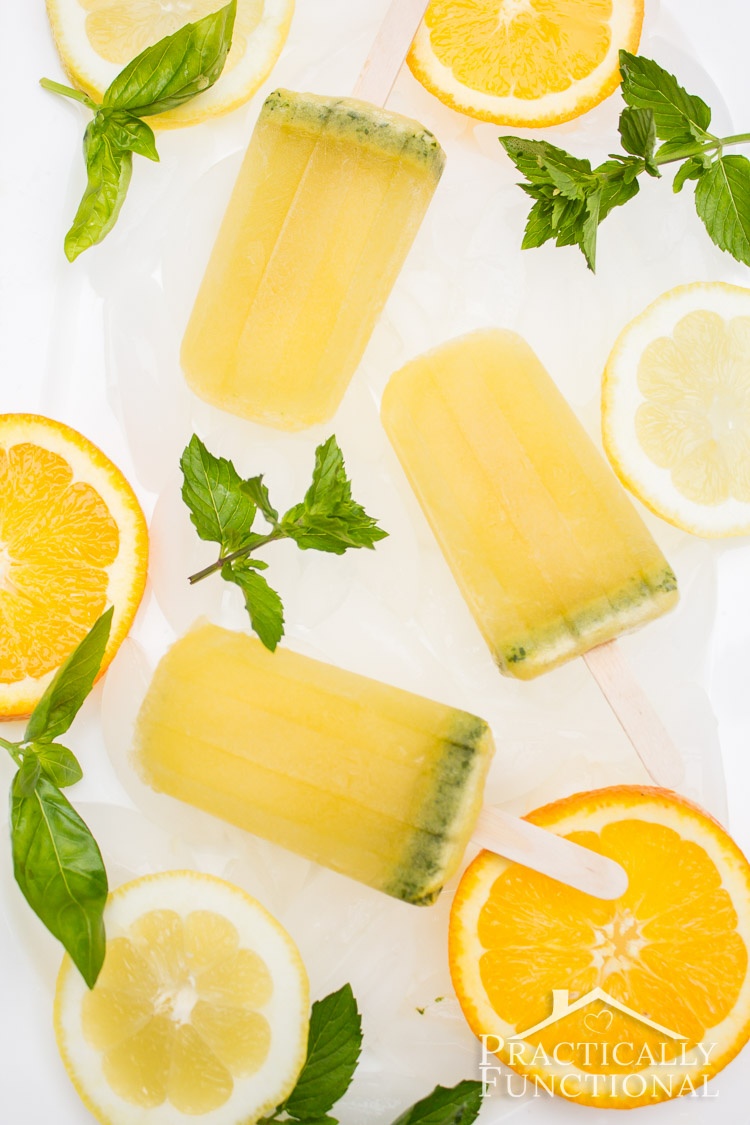
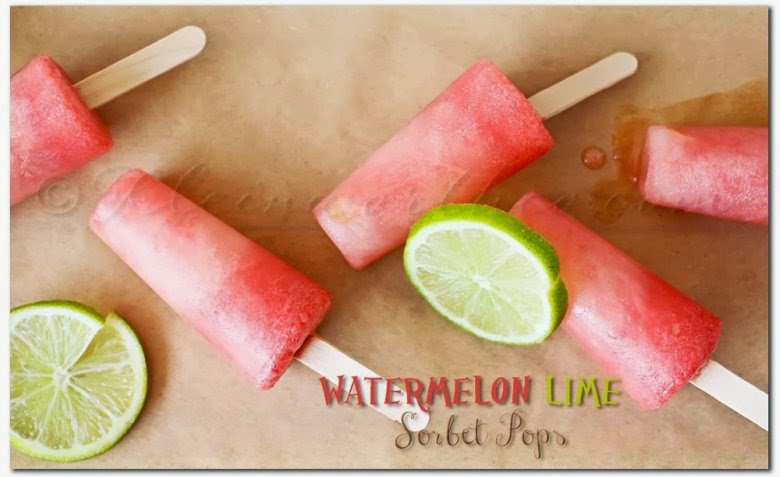
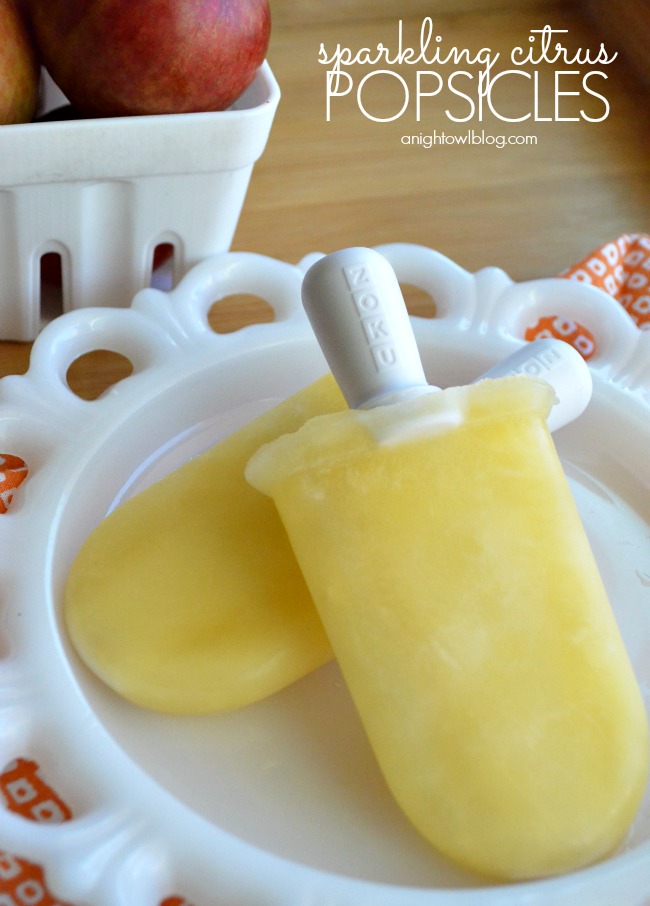
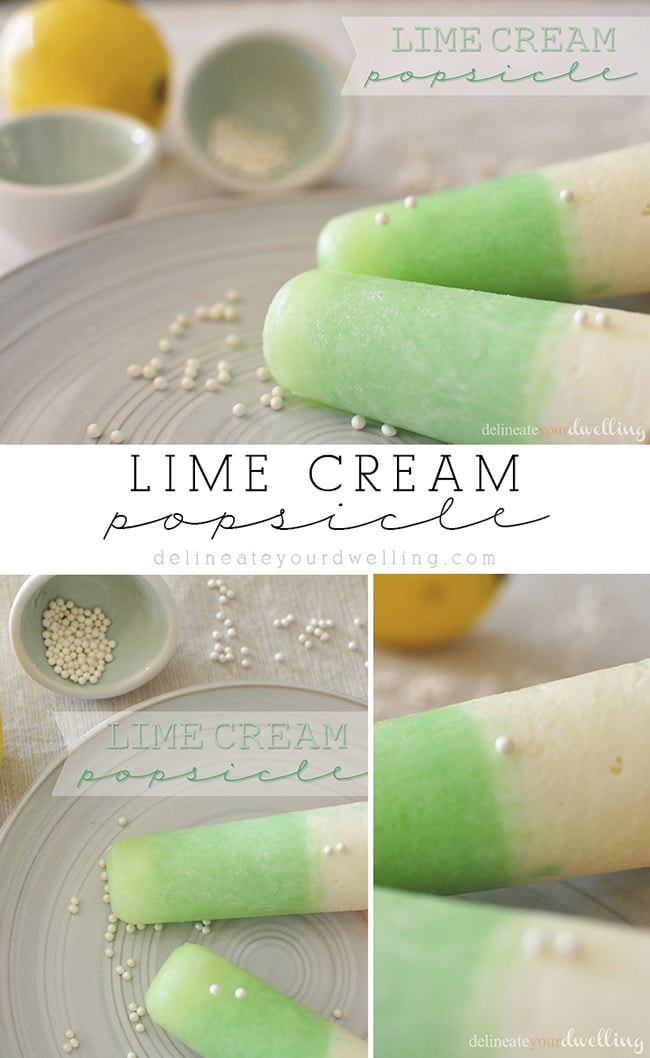
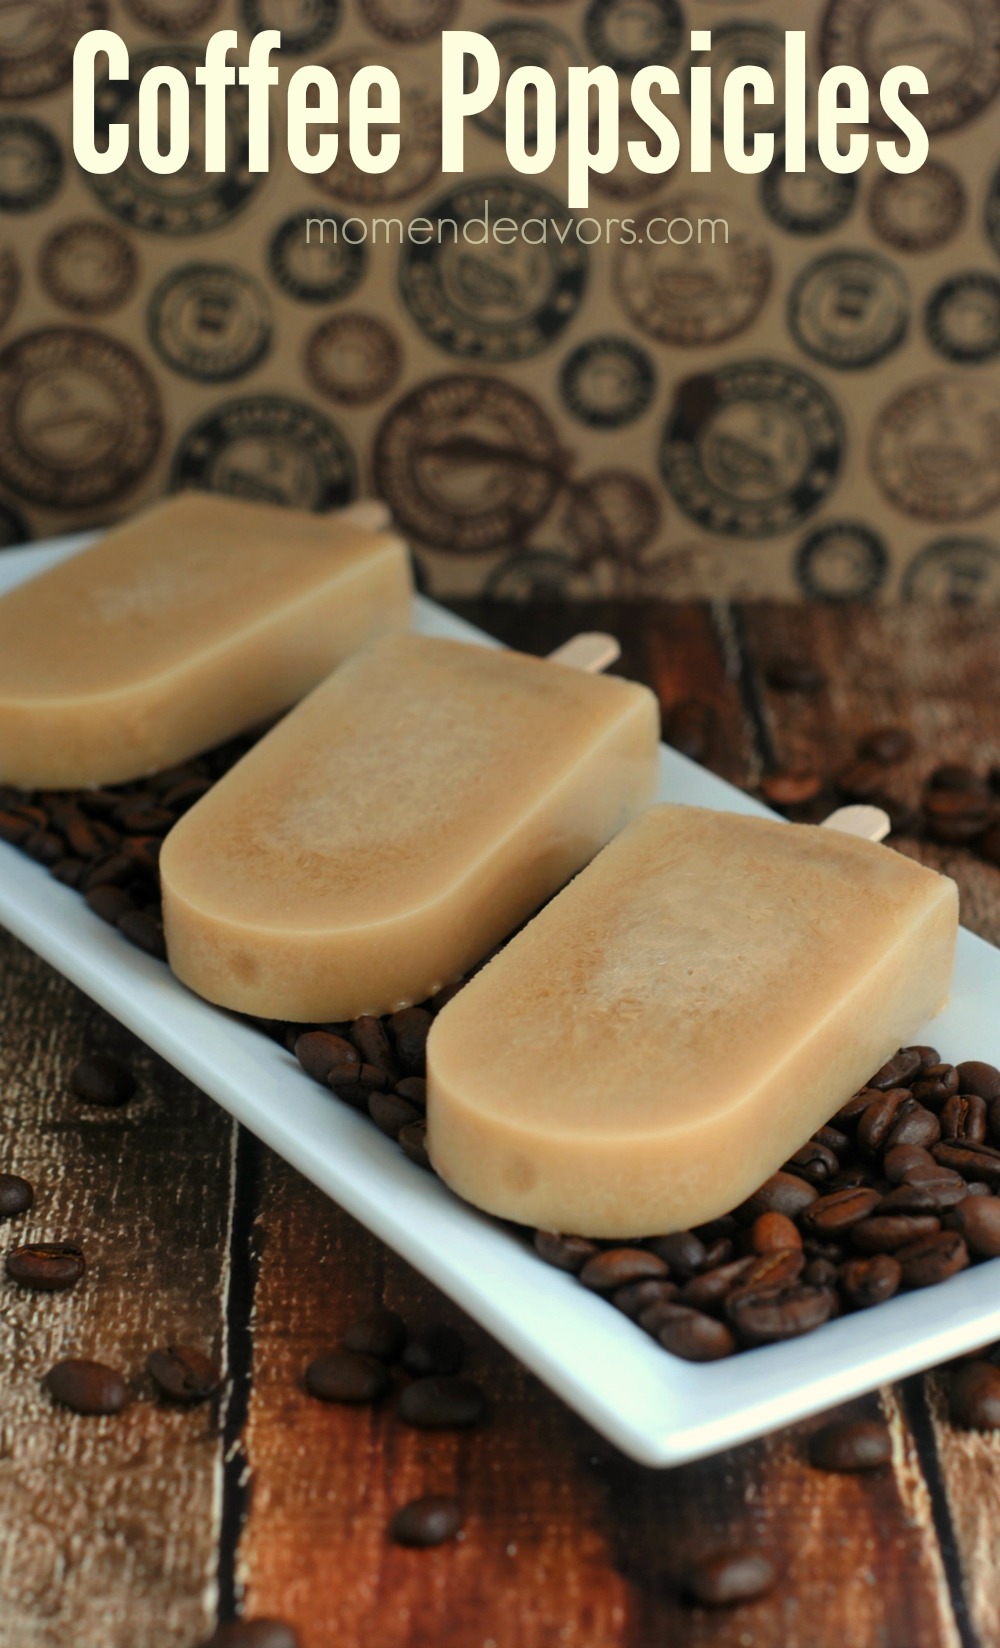
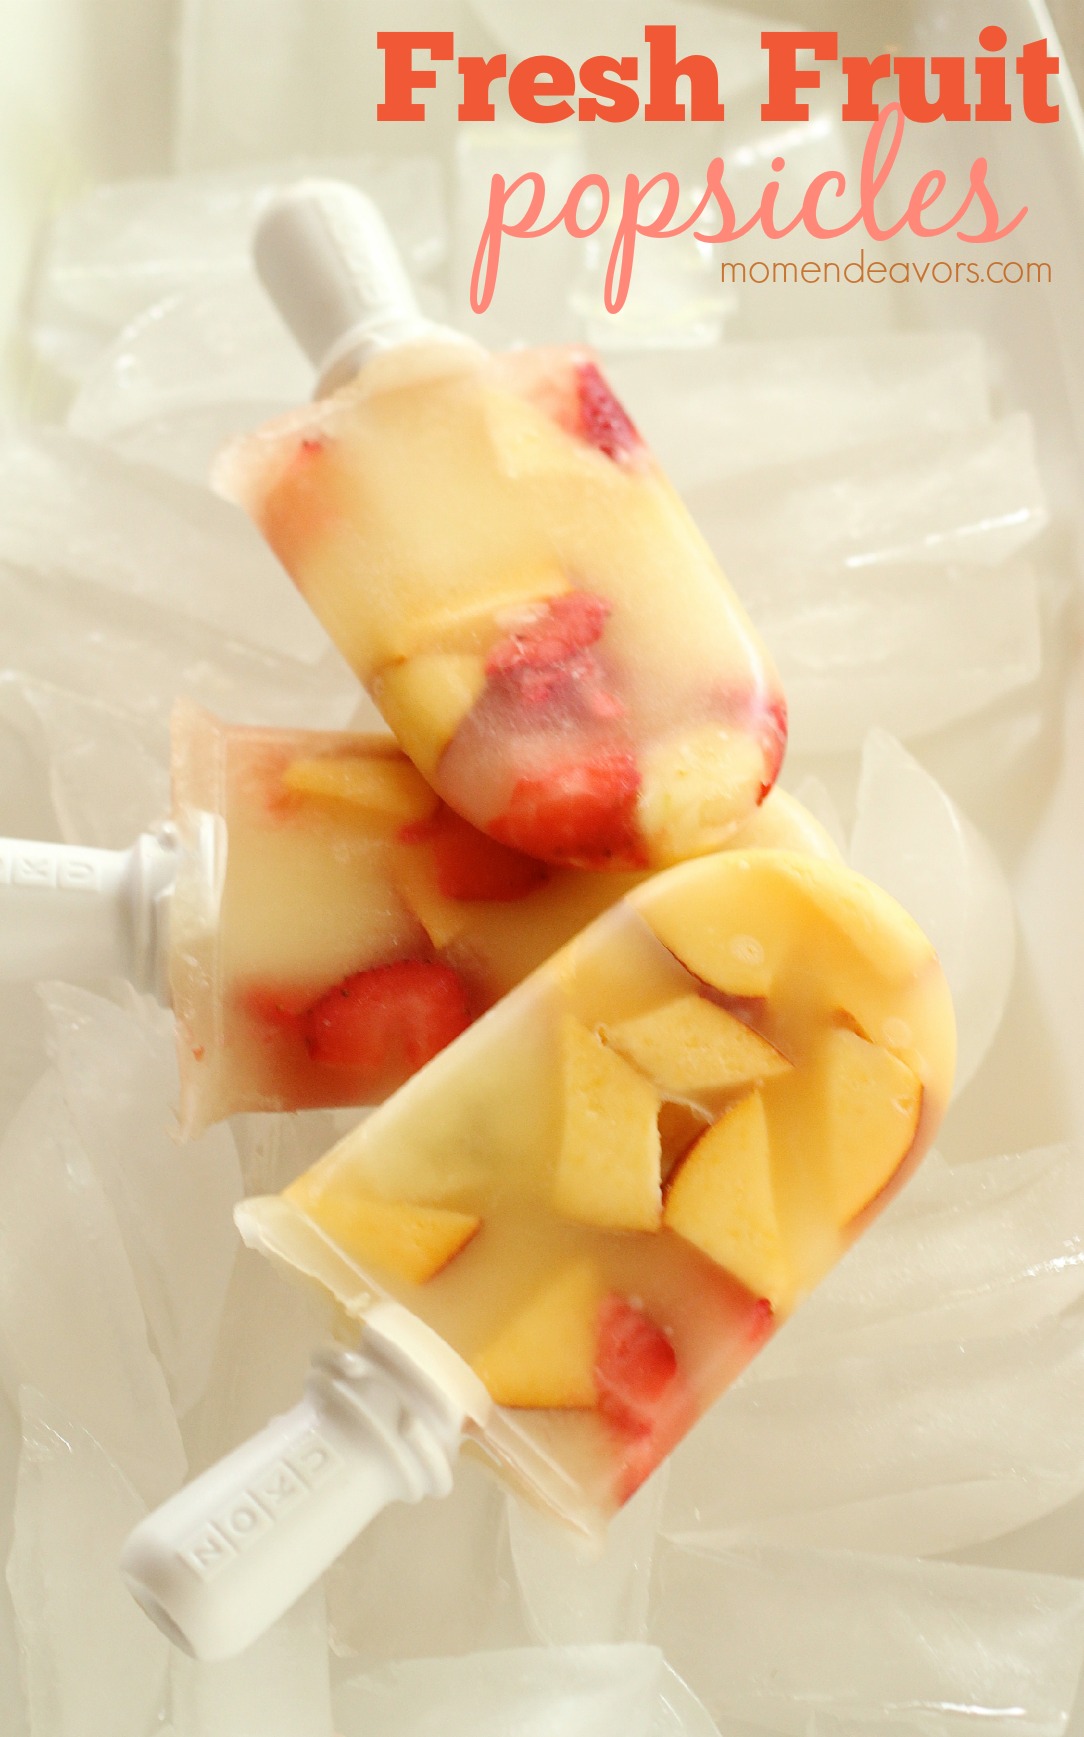
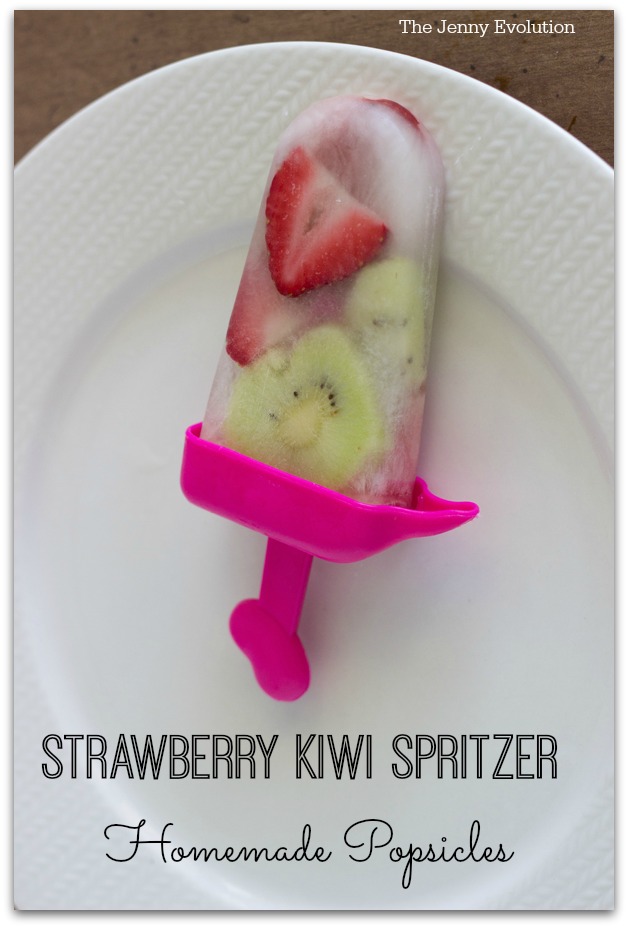
35 Popsicle Recipes to Keep you Cool


 Now that summer is here, I am always looking for easy ways to help me and the kids cool down! With Blue Bunny's new summer products out in stores, it's easy to come up with fun treats to make everyone happy! These Easy Ice Cream Sandwich Floats will be a hit with kids and adults alike. I have teamed up with Blue Bunny for this post, however all opinions are my own.


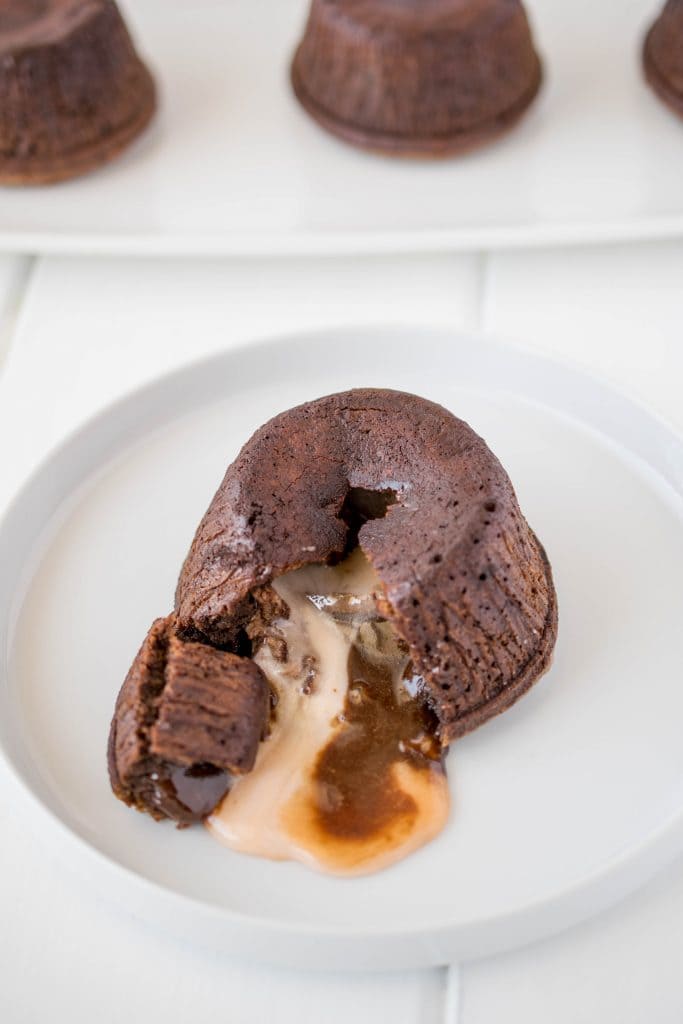
 When people think of homemade lava cake, they might think it seems extremely difficult to make. I will tell you though, recreating this delicious Raspberry Lava Cake at home is actually simple. So simple, you will probably be shocked at how little effort it actually takes. Serving these on a special occasion or really anytime will make your family happy and satisfied with this tasty dessert. Don't forget to pair the raspberry lava cake with some wine too.


 I have been making these Crispy Coconut Chicken Strips with Peach Curry Sauce for at least five years now. They are always a family favorite and people ask me to make them all the time. I used to make them all the time at work, and my boss absolutely loved them. The coconut chicken strips are covered in a mixture of panko and coconut, flash fried for a crispy coating, then finished off in the oven. It takes less than 5 minutes to prepare and then about 15 minutes to bake. These Crispy Coconut Chicken Strips make the perfect weeknight dinner!


 With Easter right around the corner, I wanted to share The BEST Easter Recipes with you! I have over 23 recipes and they all scream EASTER! From desserts to brunch items, there is definitely something for everyone. I have never tried a Benedict Hard Boiled Egg before, but now I know I need to, because they look amazing. And, if you are up for 'killing' some peeps, then you definitely need to checkout my Peep's S'mores (right below). What are your favorite Easter recipes? What will you be cooking this year? I am excited to share the BEST Easter recipes with you today!


 Skinny Lasagna soup is a healthier spin on lasagna, and on a fall or winter day this is a great warming meal. This lasagna soup usually turns out a tad spicy, but you definitely have the opportunity to kick up the spice with extra red pepper if desired (or less if you like less heat). By using only a few lasagna noodles, it keeps the carbohydrate and calorie level down. With only 225 calories per cup, this is a great healthy meal.


 If y'all like cheese, you are going to LOVE this Mushroom Brie Fondue! It's a blend of delicious brie cheese, blue cheese, Swiss cheese, and sautéed mushrooms. It comes together perfectly for an ooey-gooey appetizer, and pairs wonderfully with Frontera's Cabernet Sauvignon Merlot Blend.


 With game day literally right around the corner, I figured some of y'all might be procrastinators like me and not have all your game day food planned out. Not to worry, because I have quite the list of Last Minute Game Day Recipes for you! There is a little something for everyone in this list too...everything from dips to wings. I can't say no to a good cheese dip on Super Bowl Sunday, how about you? Check out this list below and tell me what you plan on making on Sunday! Go Falcons!


")


 It’s no secret that I am a huge lover of Brussels sprouts. Any which was you cook them, they are all tasty to me (well, except don’t boil them!). I love love using Brussels sprouts in new recipes, and I put a twist on this recipe to turn it into a delicious side dish. Lets be honest though, I would eat this as a main dish and enjoy it just as much as a big bowl of mac & cheese! These Sauteed Brussels Sprouts with Pears, Raisins, and a sweet glaze are amazingly delicious and total perfection.


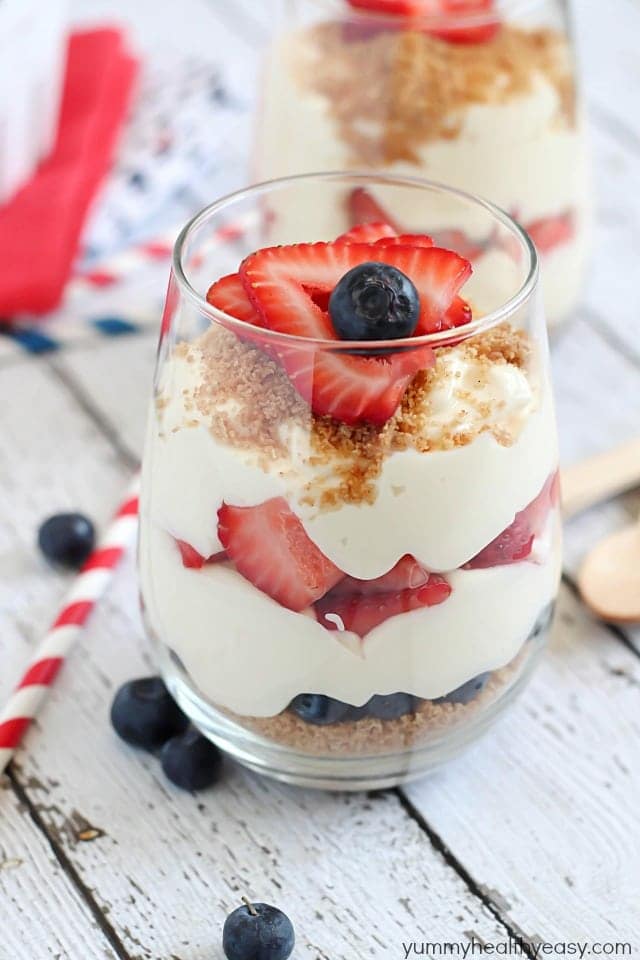
 With the holidays literally right around the corner (less than a week away, ahhh!), I have been whipping up lots of seasonal recipes. These No-Bake Cranberry Cheesecake Parfaits are perfect for holiday parties, Christmas Eve dessert, or anytime really. They are simple to make and super delicious – no baking involved, either!


 I have a super quick and easy holiday recipe for you today! I am excited to share this, because it’s super yummy, but also only takes a few minutes to make, and everyone will love it! These White Chocolate Peanut Butter Kettle Corn Clusters are the perfect blend of sweet and salty – the perfect holiday treat!


 As most of my friends know, I LOVE coffee! I am pretty much addicted to iced coffee and I love a warm cup of coffee in the morning..well, more like 5 warm cups of coffee! That’s why I am sooo excited to have the new Ninja Coffee Bar®System, because now I can whip up my favorite hot or iced beverages at home! I am also going to be GIVING AWAY one of these awesome systems, so make sure you scroll all the way to the end for details on how to enter! This Coconut Cream Latte is one of my favorites, and once you try it, I know you will agree!


 edited")


 without sacrificing any flavor! Seriously delicious and so easy to make!") I have a delicious Cheesy Vegetable Chowder Soup for you today. This soup reminds me of cream of broccoli soup, which I love, but hate all the fat and calories. This soup gives the impression of being creamy and rich, and is filled with delicious flavors. The base of this soup (carrots, celery, onion, and garlic), is the same base that starts off this
I have a delicious Cheesy Vegetable Chowder Soup for you today. This soup reminds me of cream of broccoli soup, which I love, but hate all the fat and calories. This soup gives the impression of being creamy and rich, and is filled with delicious flavors. The base of this soup (carrots, celery, onion, and garlic), is the same base that starts off this  without sacrificing any flavor! Seriously delicious and so easy to make!")
 without sacrificing any flavor! Seriously delicious and so easy to make!")