Cranberry Lemon Cupcakes with Lemon Cream Cheese Frosting are the perfect anytime treat, but they are especially tasty around the holidays!
 The last few weeks I have been experimenting with lots of seasonal recipes, including some delicious cranberry recipes! I came up with these Cranberry Lemon Cupcakes and then decided to top them with a tasty Lemon Cream Cheese Frosting.

I highly recommend trying out these cupcakes as well! They are perfect for the holidays and so delicious!


- ¼ cup plain Greek yogurt or sour cream
- zest from 1 lemon plus juice from 1 lemon
- 1 teaspoon vanilla
- 1 teaspoon baking powder
- 1 ½ cups flour
- ¼ teaspoon baking soda
- ½ teaspoon salt
- 1 cup butter room temperature
- 1 ¼ cup sugar
- 4 eggs
- 1 ½ cups fresh cranberries
- 2 cups powdered sugar
- 4 ounces softened cream cheese
- ½ cup butter softened
- 1 teaspoon vanilla
- 1 TBS lemon juice
- zest from 1 lemon
-
Preheat oven to 325 degrees. grease or line muffin tins; set aside.
-
In a small bowl whisk together yogurt, zest, lemon juice (from 1 lemon), and vanilla, set aside. In a medium bowl, whisk together flour, baking powder, baking soda, and salt; set aside.
-
Using a stand mixer or electric mixer, add butter and sugar to the bowl and cream; about 2 minutes at high speed. Add eggs, one at a time, combining well after each egg. Slowly add half of the flour mixture, and mix at a slow speed (or you will have a mess all over!), then add ½ of the yogurt mixture and mix until just combined. Add remaining flour mixture and combine; add remaining yogurt mixture and mix until just combined.
-
Remove bowl from stand mixer, add the cranberries, and fold gently to combine.
-
Pour batter into muffin tins, about ¾ of the way full. Cook for 22-30 minutes, testing with a toothpick starting at 22 minutes. When it comes out clean, they are done (mine took exactly 30 mins).
-
Remove and set on a wire rack until cool.
-
Using a stand mixer, cream together butter and cream cheese until smooth. Add vanilla, lemon juice, lemon zest, and mix for a few seconds until combined. Add powdered sugar and mix on low until lightly incorporated, turn speed to high and whip for 1-2 minutes or until fluffy.
-
Pipe frosting on the tops of the cooled cupcakes, serve and enjoy!
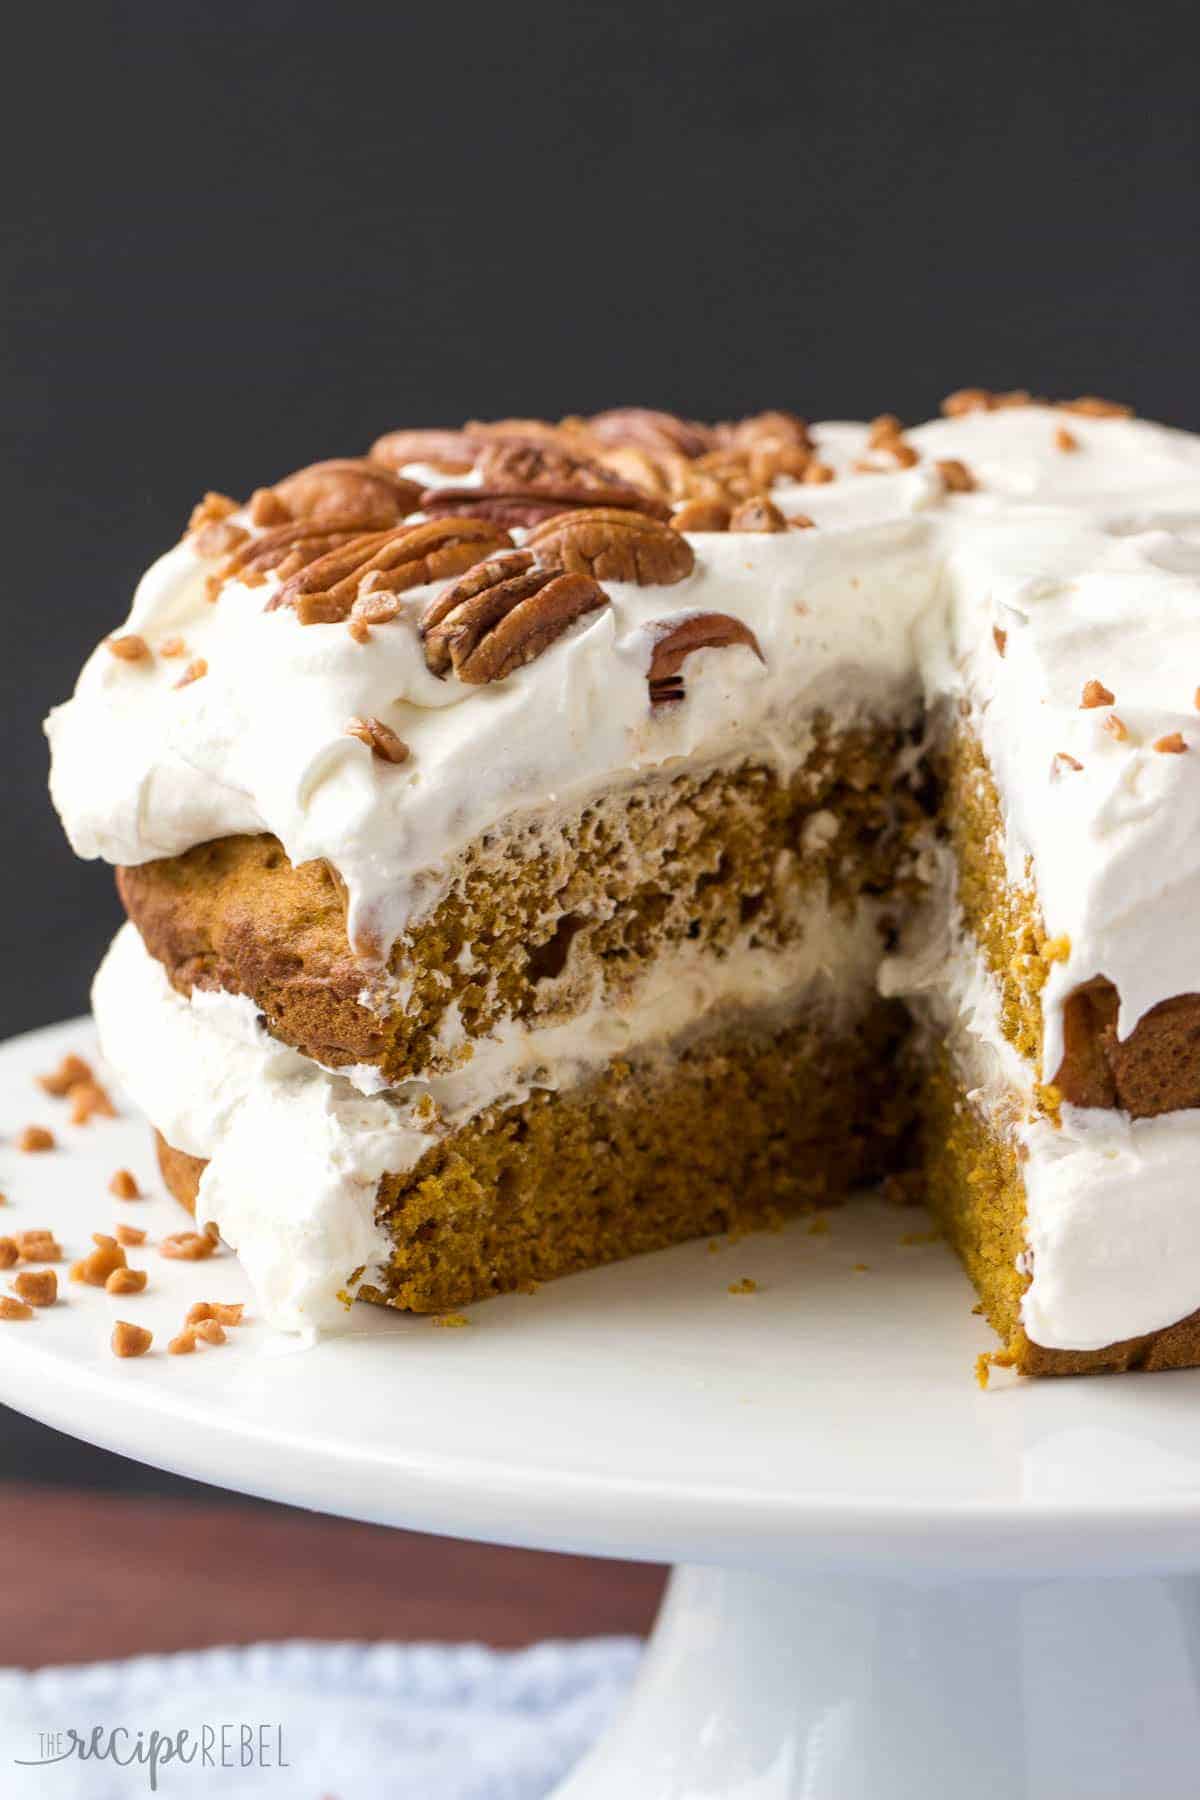
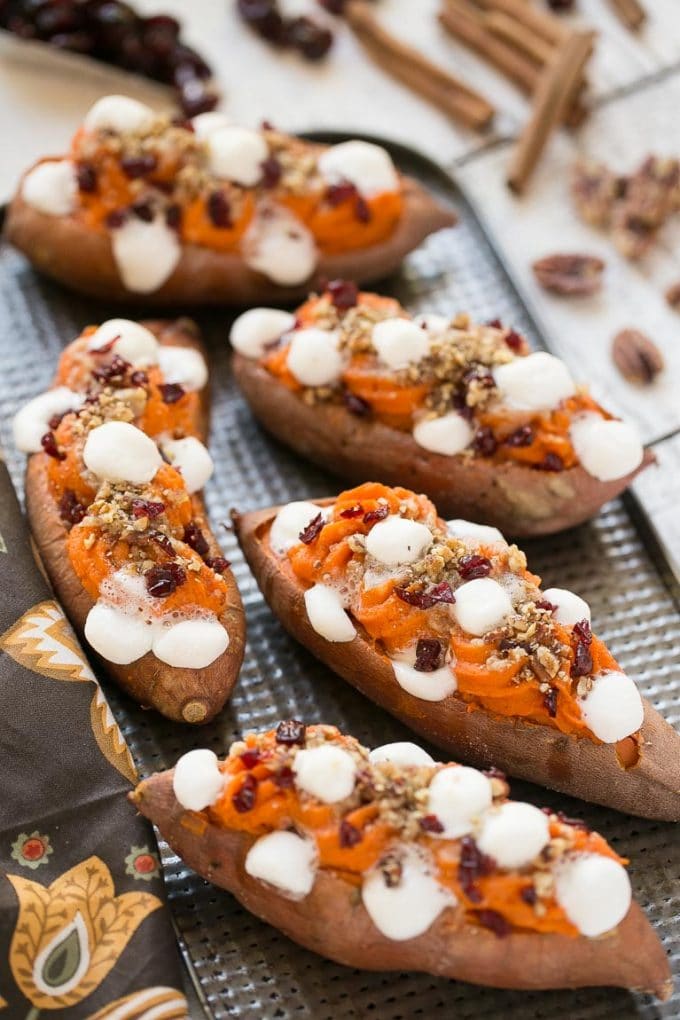
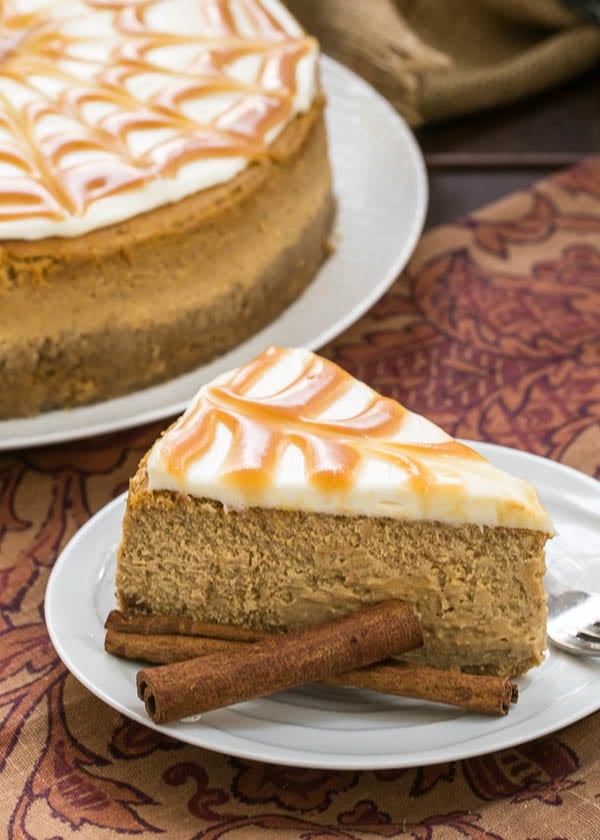
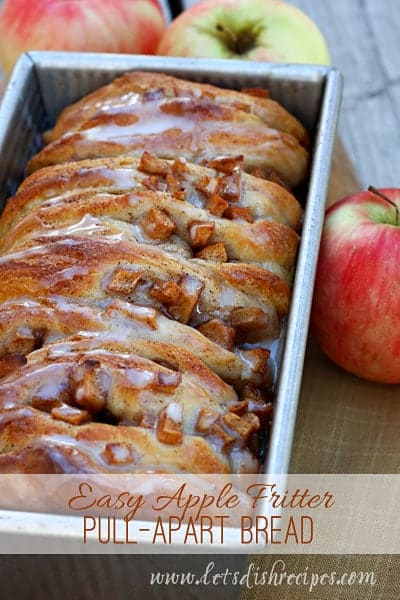
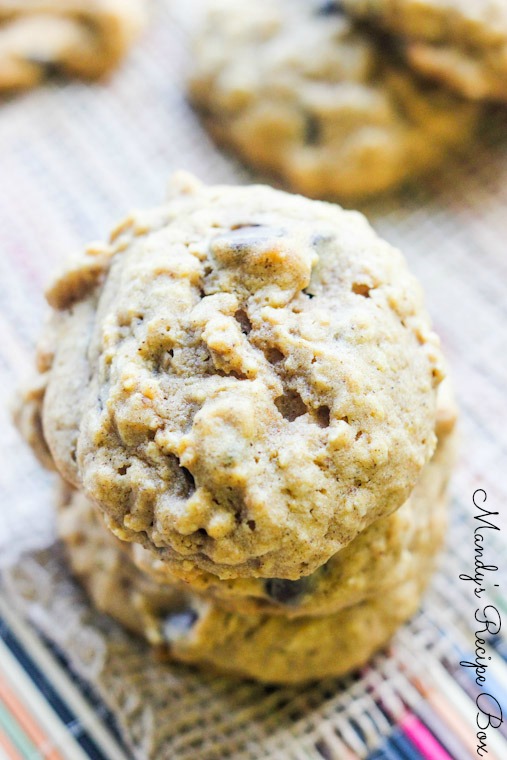
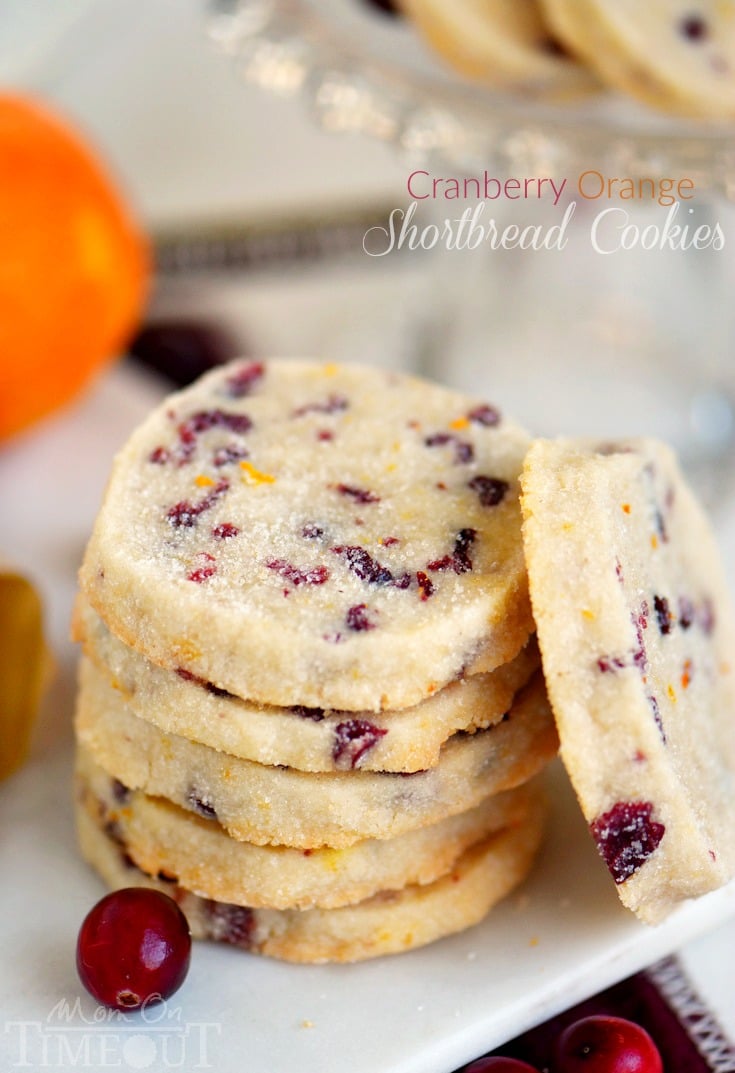
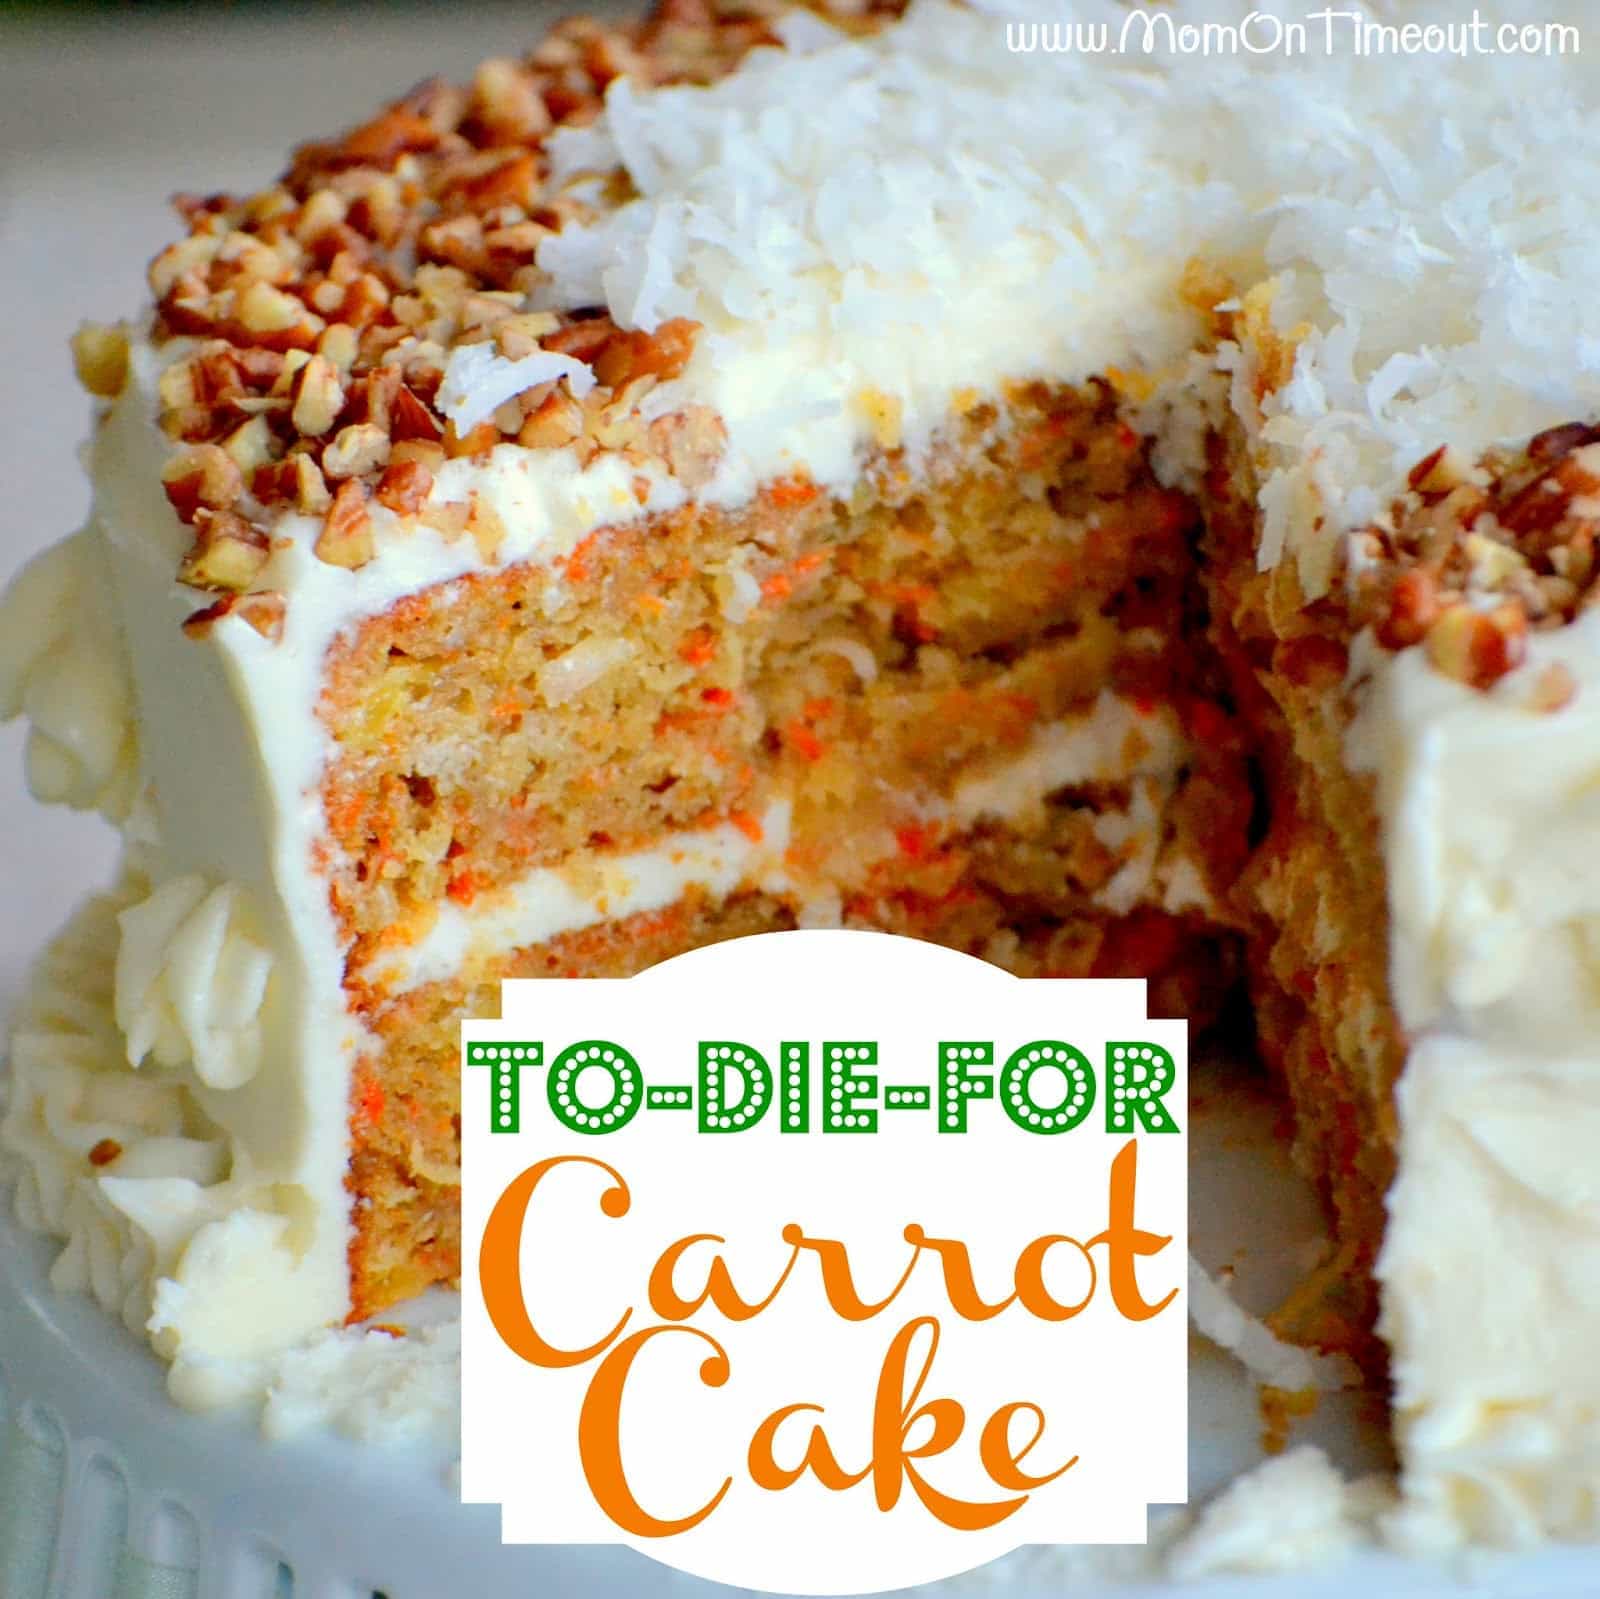
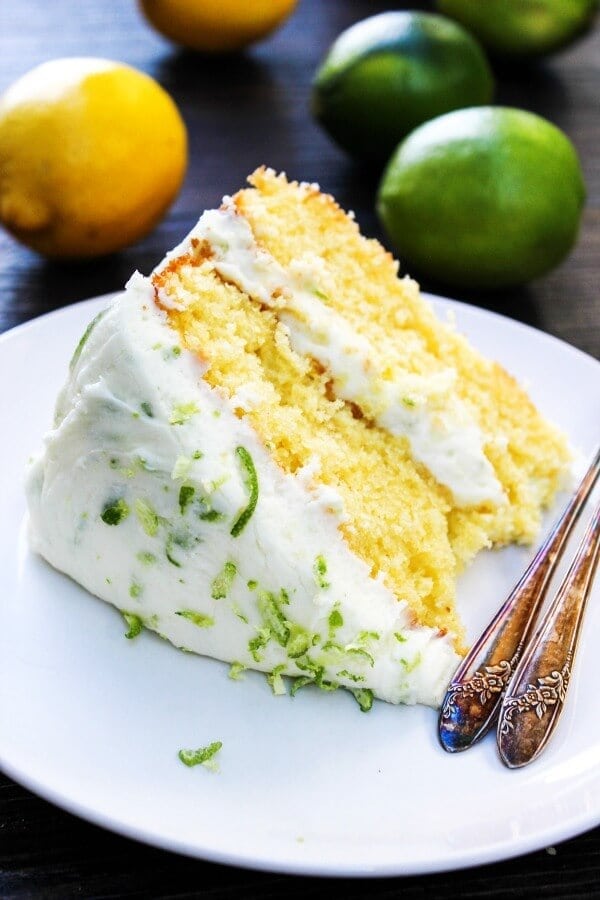
Like desserts as much as I do?! Check out these other delicious recipes from Domestic Superhero:


 As you know, I was in Iowa a few weeks ago for #IACornQuest 2016! I had the opportunity to head to Iowa and learn all about corn farming from IA Corn! It was totally awesome, and I was very inspired to whip up some corny (har har) recipes when I returned home. These Spicy Corn Fritters turned out really delicious, and I topped them with the most cool tasty cilantro lime cream as well...so yum!


 As y’all know, my life is BUSY! I love coming up with QUICK and EASY meals that we can enjoy as a family because who has hours to slave over the stove? Not me, and you shouldn’t either. That’s why when I saw these


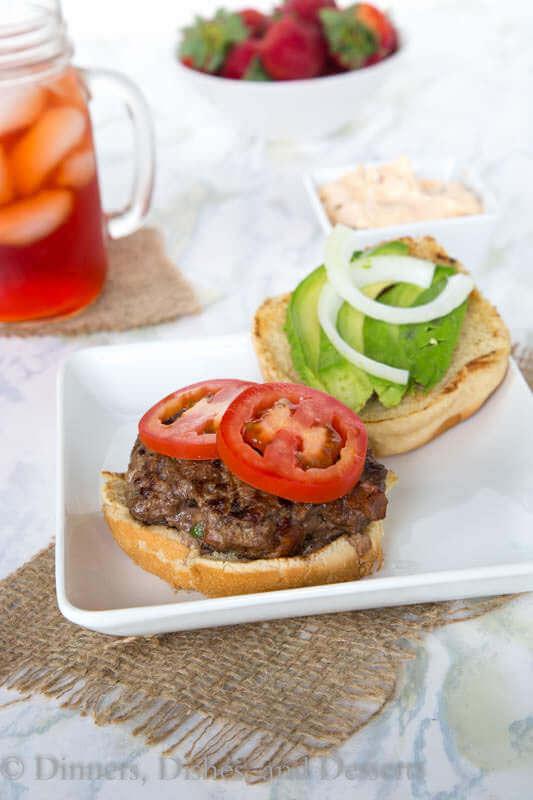
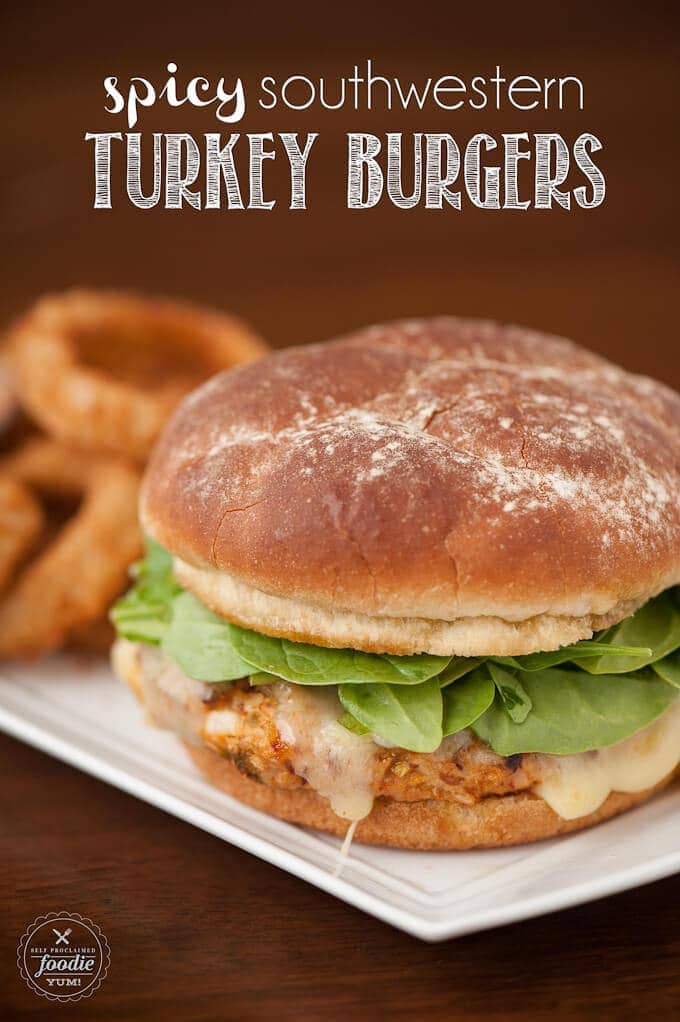
 Now, I know for the last month or so I have been posting nonstop about recipes that are going to make your life easier…why? Because school has started back up, activities are in full swing, and it’s a hectic time of the year! I want to help YOU, help yourself and your family by sharing these easy weeknight meals. Once again, I have a super simple recipe for you, which only takes about 30 minutes from start to finish, and will definitely be a crowd please. Introducing…Easy Baked Turkey Ham Sliders (don’t worry, there’s cheese too!).


")


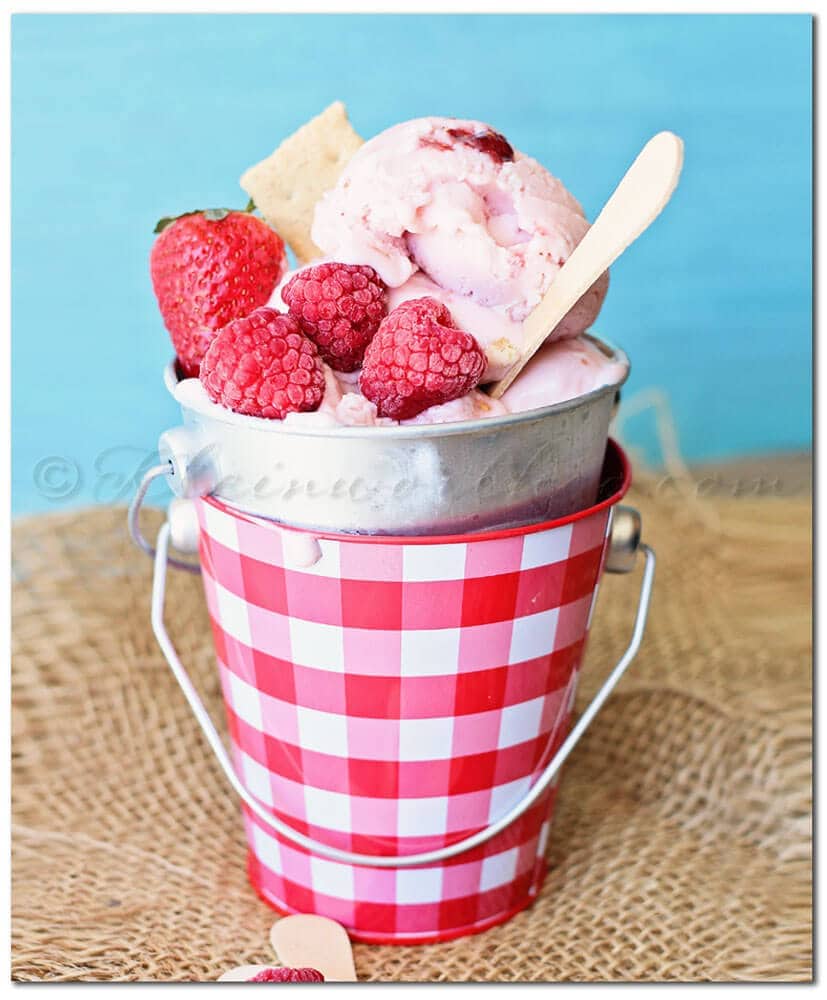
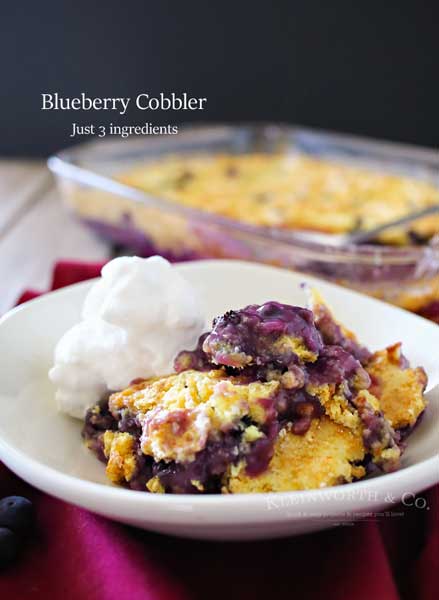
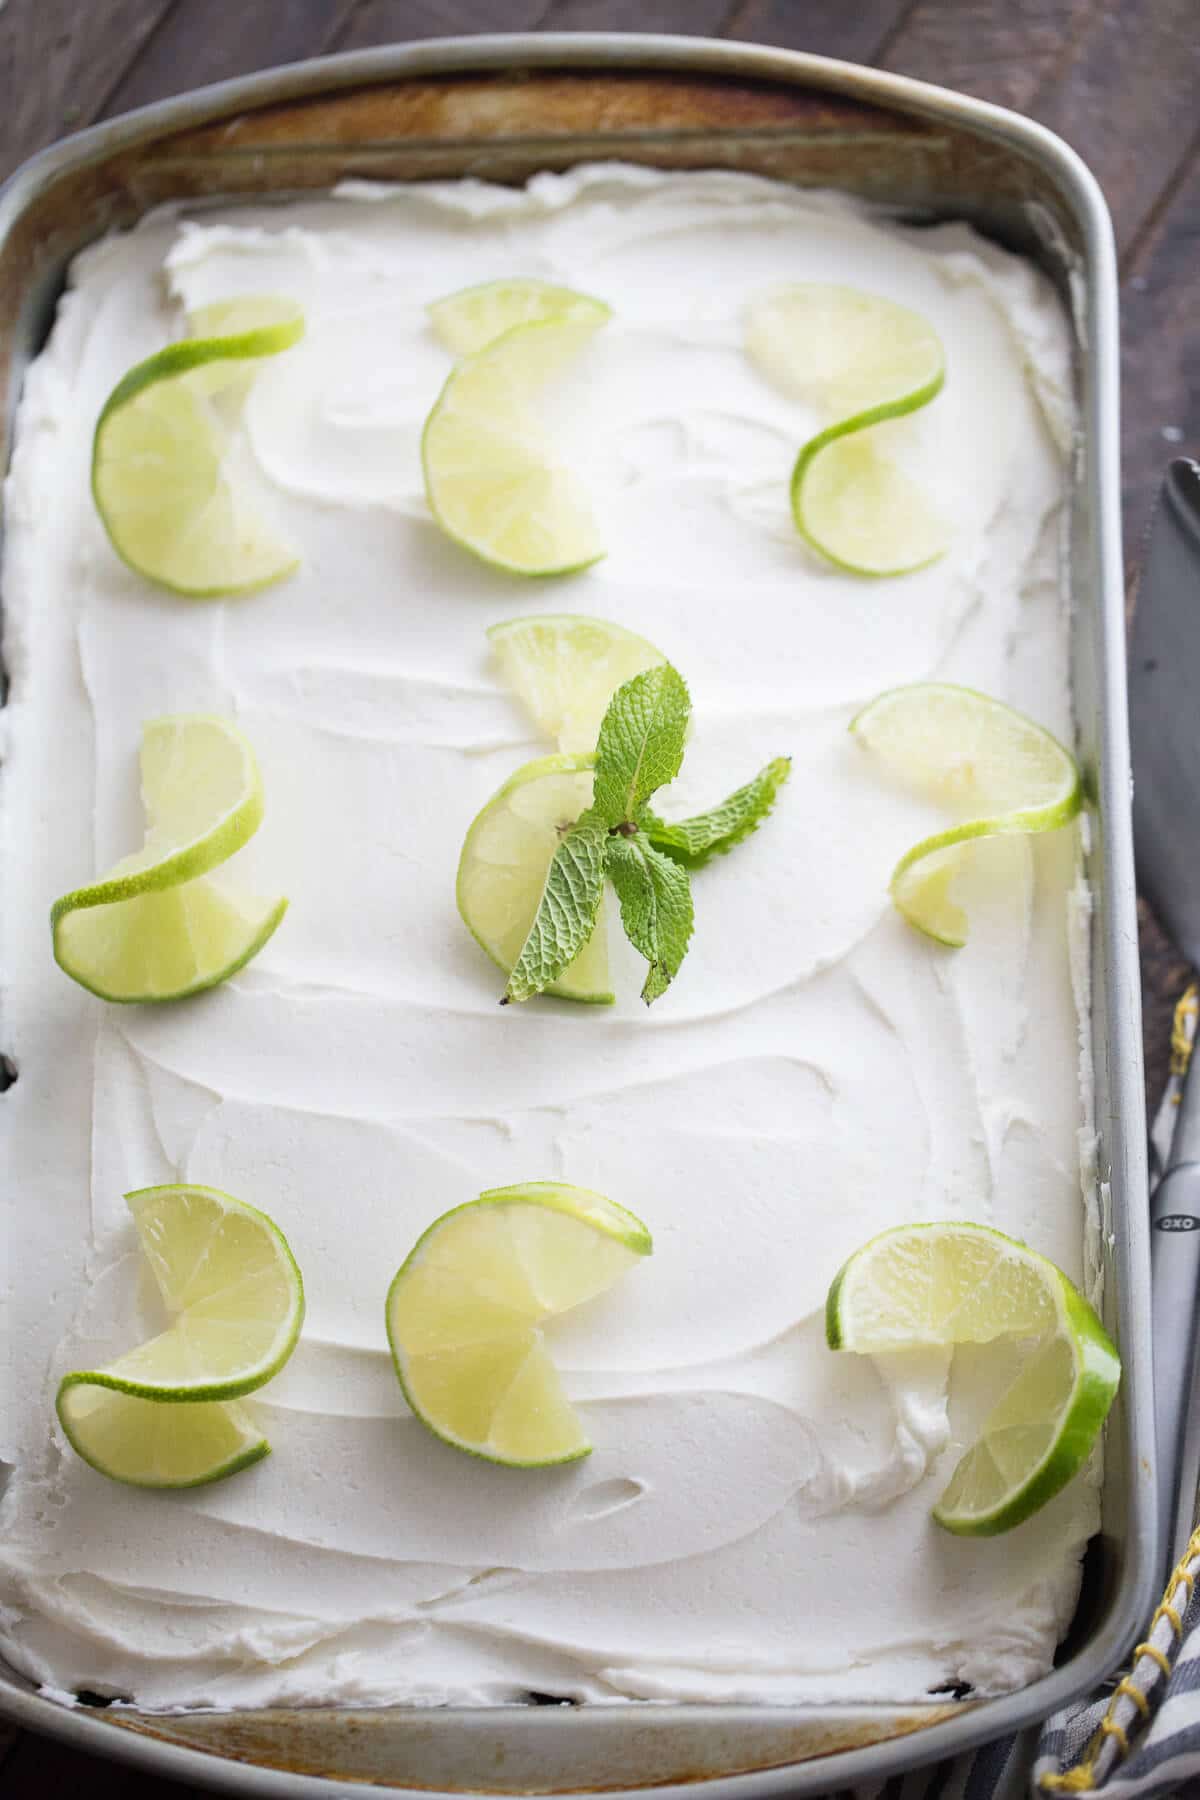
 Homemade sorbet is one of my most favorite desserts, and lately, I have been getting my kids to eat it with me, which is a total score. This delicious Blueberry Sorbet is only made with 2 ingredients, so I know exactly what my kids are eating as dessert. The recipe is so simple and easy to make over the weekend and enjoy all week!


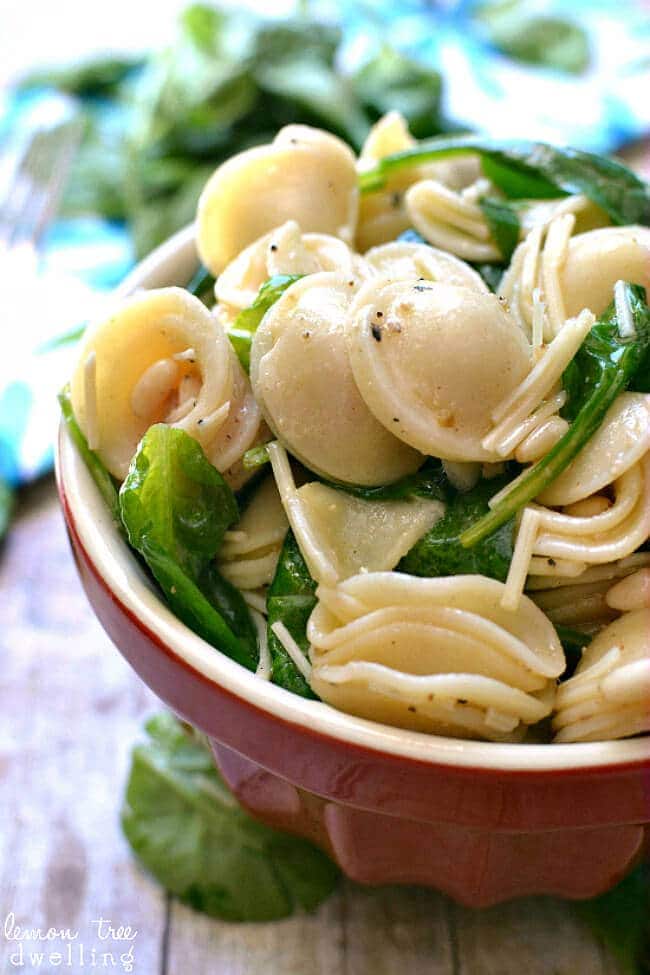
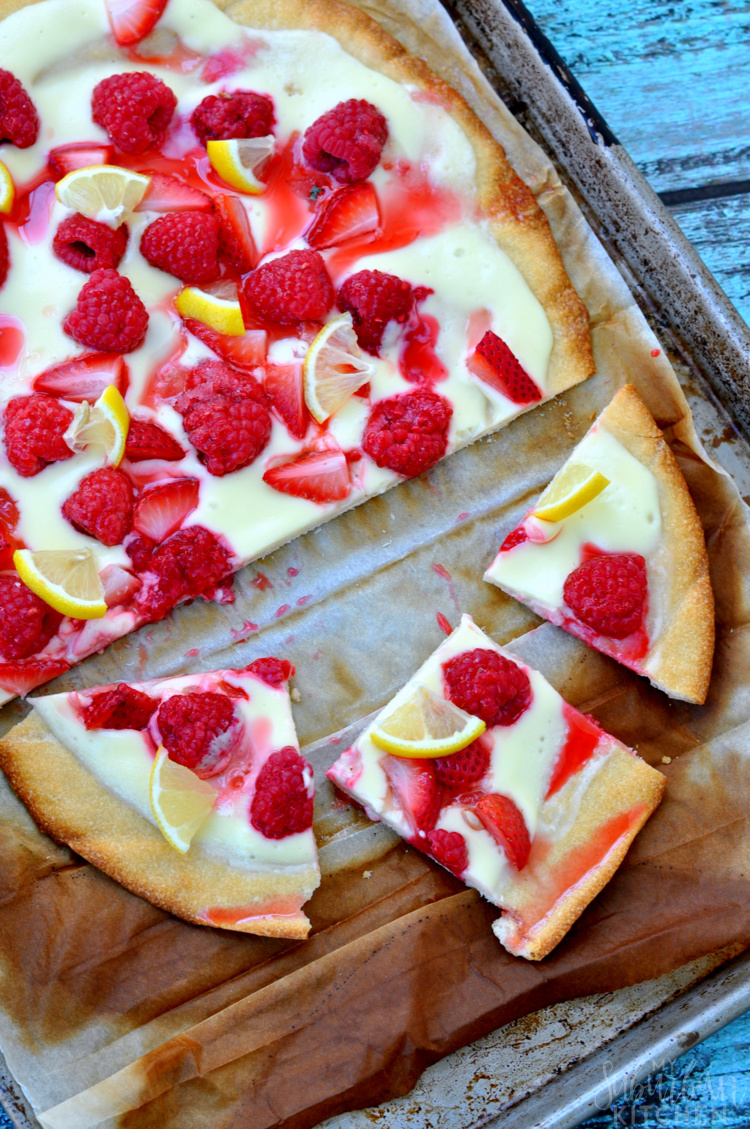
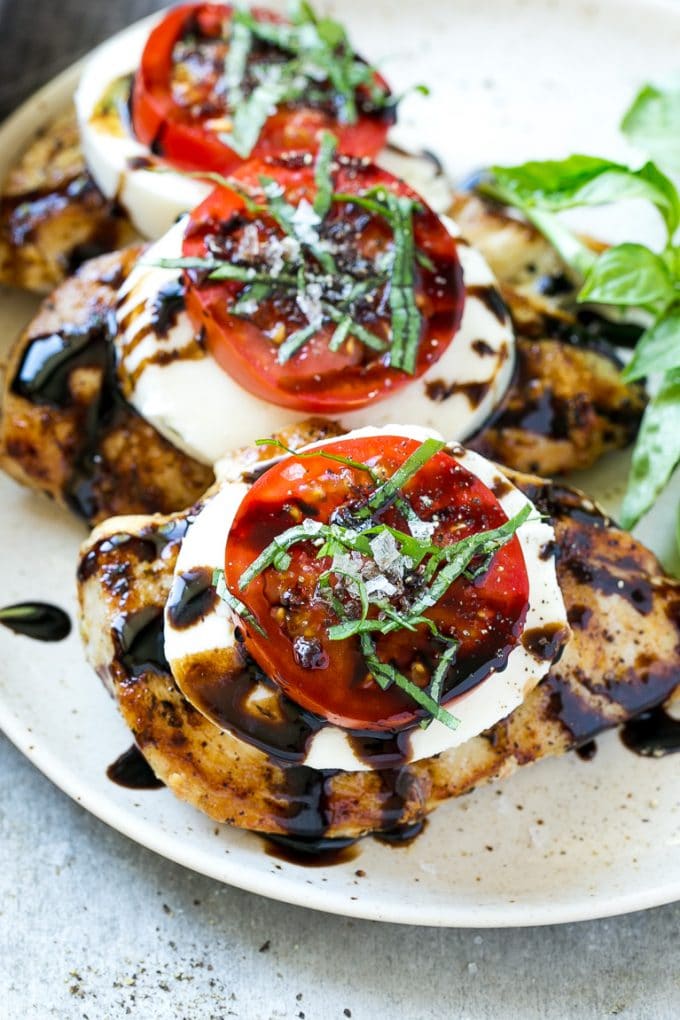
 Growing up, I used to pick fresh tomatoes off my Dad’s tomato plants, and fresh basil from the garden. He would throw them together in a bowl with fresh mozzarella cubes and then drizzle balsamic vinegar on the top. I was in heaven, gobbling it up and begging for more. Thinking back to these found family memories, I try to come up with recipes that will hold the same memory for my kids. They absolutely love pizza, so I figured reimagining the salad into a delicious flatbread pizza would be totally delicious for them. Of course I decided to pair it with some Lipton Peach Flavor Iced Tea for myself and my husband, because it’s so refreshing and perfect for summer recipes.


")
1")


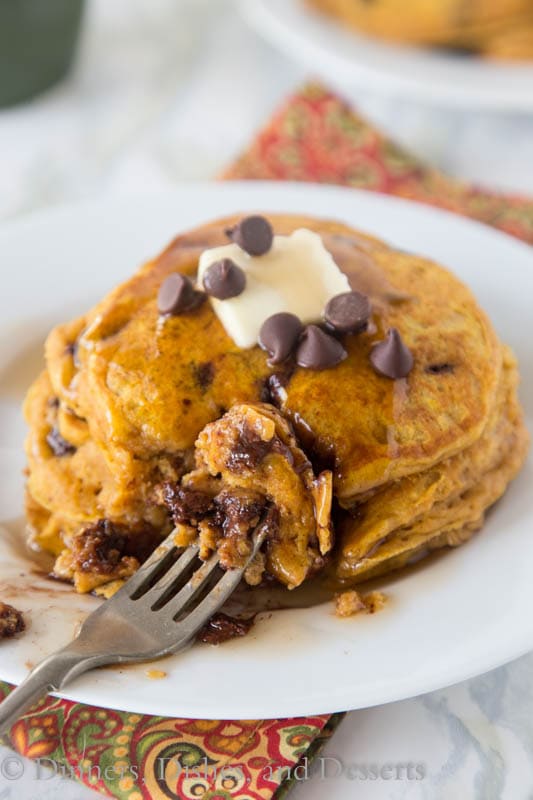
 Now that school is back in full swing (at least here in Atlanta), I have been making lots of breakfast recipes that can be cooked and frozen, then reheated during the week. My kids LOVE pancakes, so it was a no brainer to whip up some delicious pancakes for them to eat before school; however, these pancakes aren’t your typical run of the mill pancakes, they are Vanilla Cream Pancakes, and they have a secret ingredient that my picky-eater kids would never guess…


 A couple weeks ago we were hosting some friends for Sunday night dinner, and I was SO excited to try a new recipe I recently thought about. I love trying new recipes when I have friends over, because they are generally pretty quick to give me their opinions. When I cooked up this Jalapeno Ranch Pull Apart Bread, I knew they were going to love it, and sure enough, they did.


")


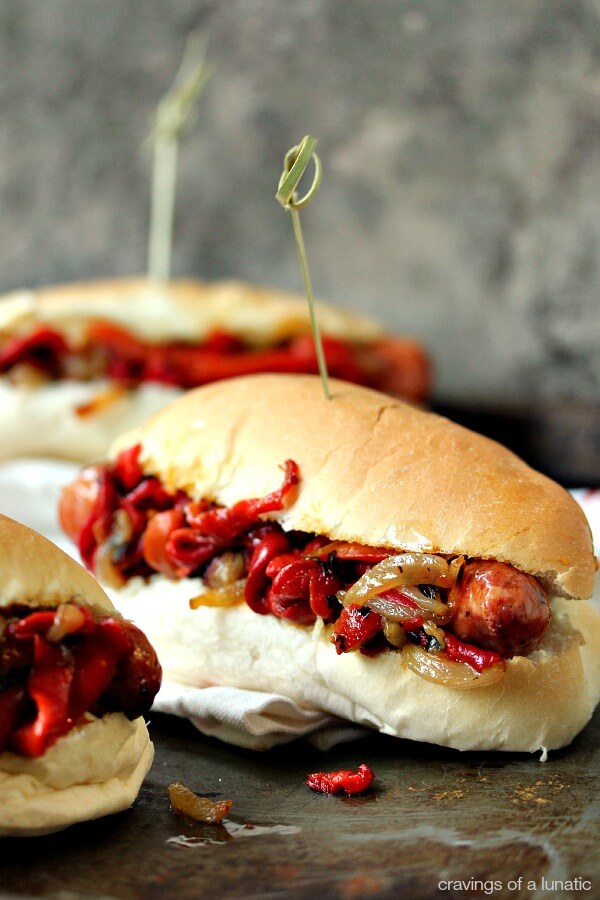
 Ahhhh, nothing says summer like grilling, right?!?! I love love love grilling out, but being vegetarians it makes things a little difficult sometimes. Truth be told, I will take a hamburger bun and just stuff it with the burger toppings (sans burger) when we co to a cookout, because it’s honestly SO delicious! I have been playing with grilling actual sandwiches lately, and I am super excited to share with you my newest sandwich, this Roasted Red Pepper Grilled Cheese.


")


")


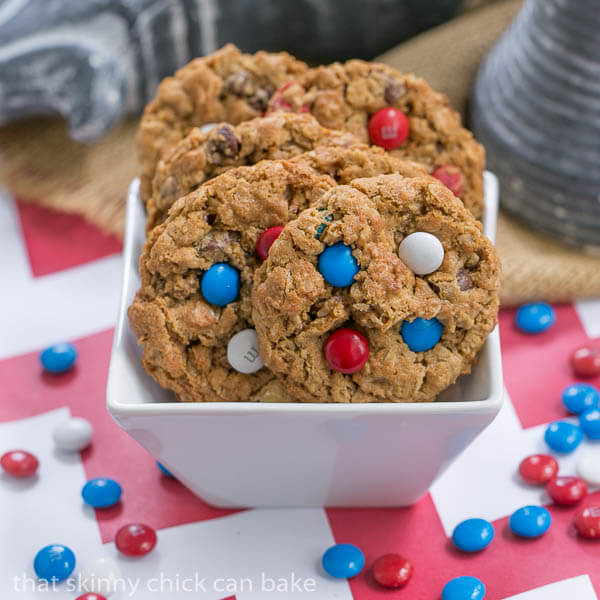
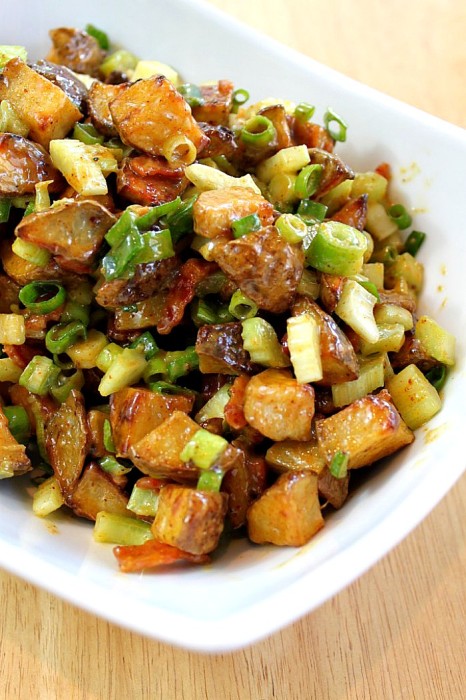
 I also love that since you use a large baking sheet to make these, there’s enough to feed a crowd. These are perfect for a party, BBQ, sporting event…you name it, these are great. Oh, and remember I mentioned a few weeks ago that I got a new fridge? Well, now that I have so much space in the