
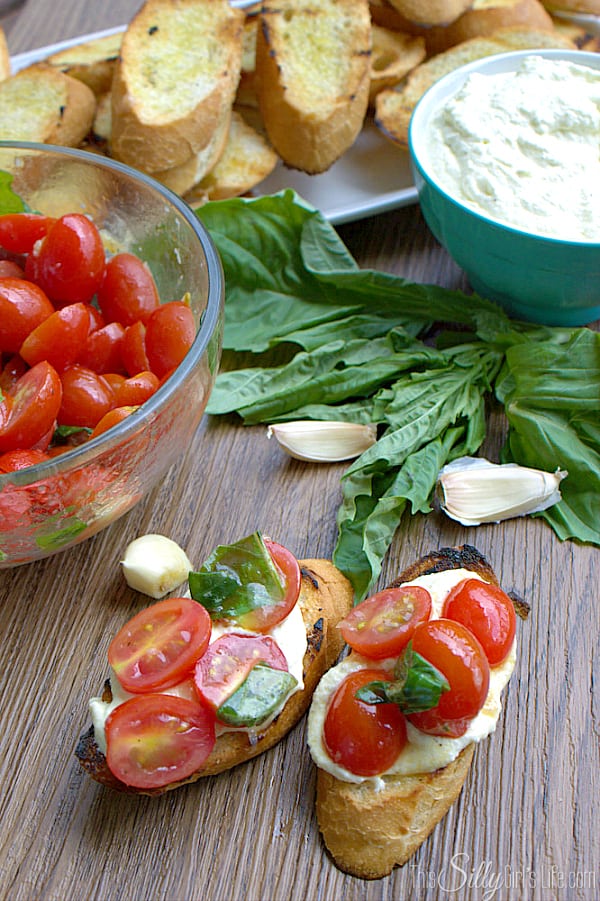
Today I am super excited to have Shannah guest posting for me on Domestic Superhero! Shannah has shared a couple recipes with my readers before, and they are always a big hit! Let's see what she cooked up today...
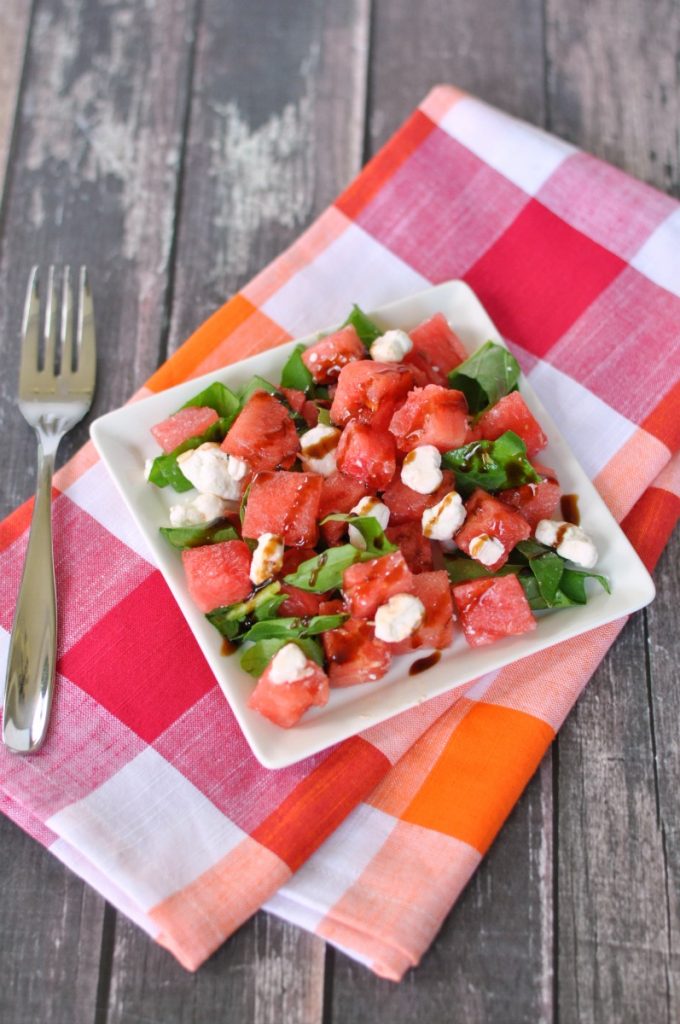
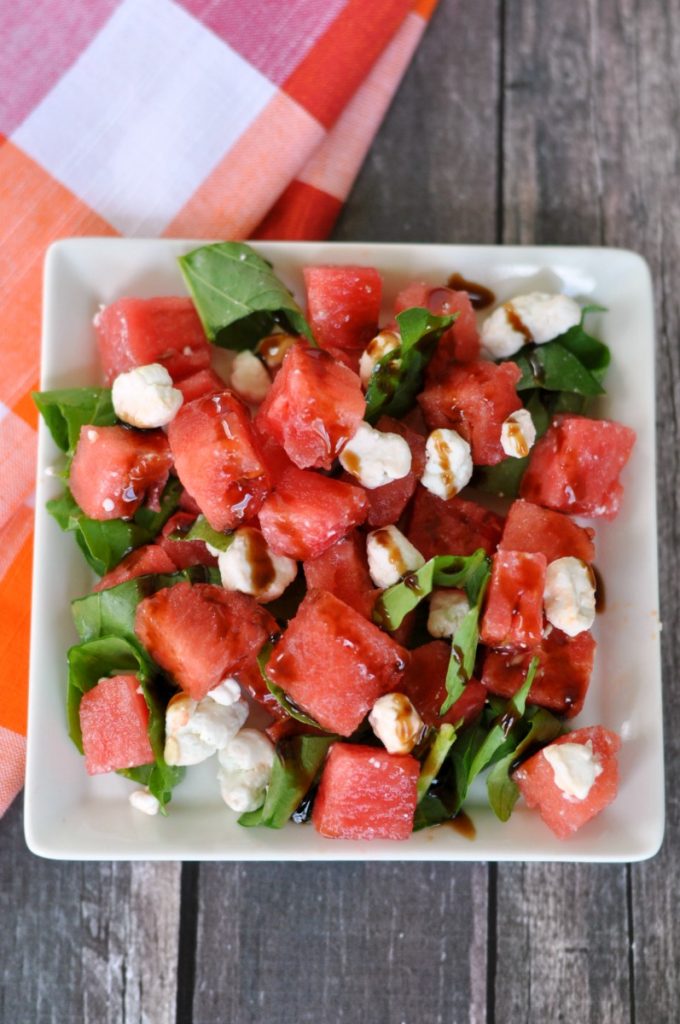
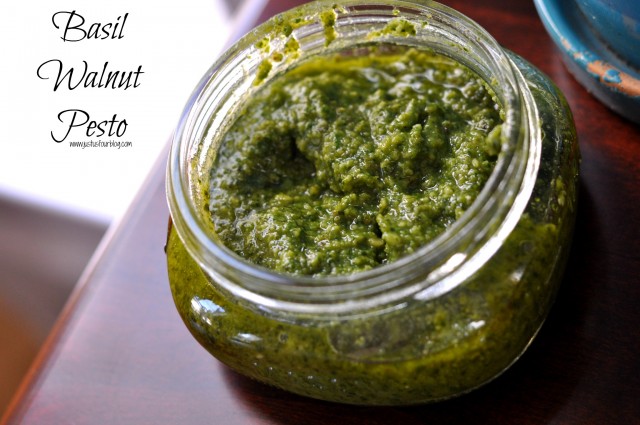
Hi everyone! I am Shannah from the blog Just Us Four. I am so excited to be here sharing a favorite recipe of mine while Allyson is cuddling her new baby and enjoying some important family time. One of our absolute favorite things in the summer is watermelon. I think my daughter could eat an entire watermelon each day if given the chance. I like to use watermelon in recipes and that is how this watermelon goat cheese salad came about.
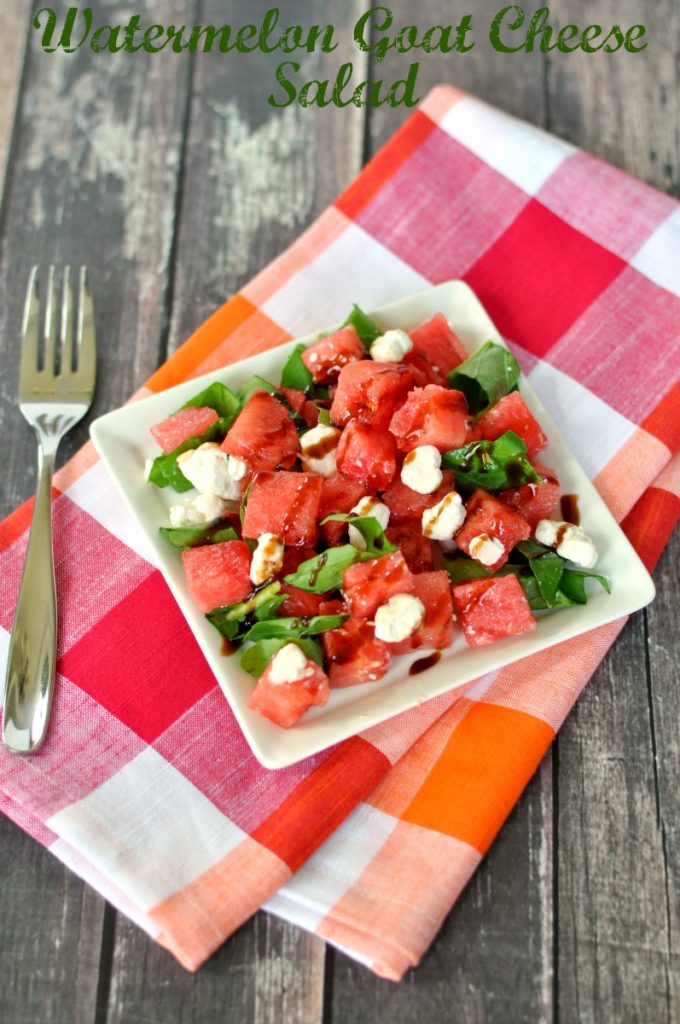
Traditionally, most people combine watermelon and feta. I'm a HUGE goat cheese fan though so I decided to change up the cheese. I also added some peppery arugula and a tangy balsamic glaze to finish off the salad.

- 1 cup balsamic vinegar
- ¼ cup brown sugar
- 3 cups watermelon cubes
- 1 cup goat cheese crumbles
- ½ cup chopped arugula
-
1) In a small pan, combine the balsamic vinegar and brown sugar. Bring to a boil over medium heat, stirring constantly until sugar is completely dissolved. Reduce heat and simmer until glaze is reduced by half, about 20 minutes. Let cool.
-
2) In a large bowl, combine watermelon, goat cheese and arugula. Stir to combine. Drizzle balsamic glaze just before serving.
This salad is awesome because it requires so little prep time. You can even make the glaze ahead of time and store it in the refrigerator until you are ready to use.
I hope you will come visit me over at Just Us Four where I share tons of recipes along with a few craft and DIY ideas too. You can also connect with me on social media
![]()
![]()
![]()
![]()


 Hello! I'm Amy from
 Get some ring blanks from your local craft store. They are pretty inexpensive.
 Find a place to secure your ring blank and add a thin layer of Dimensional Magic to the bottom. Note – never shake your Dimensional Magic bottle. It adds bubbles.
 Shake some beads into the Dimensional Magic. Let it dry and then dump off excess beads. If you haven’t filled the ring blank, repeat (you can layer Dimensional Magic).
 Add another layer of Dimensional Magic on top of your beads and then stick in the embellishment. Let dry in a warm place (NOT under a fan) for several hours. You’re done! Repeat with as many rings as possible.
 Can you believe it’s that easy to have cute jewelry?


 Marissa’s a huge Harry Potter fan, lover of fried food,


 edited")
")


")
")
")


")


")


